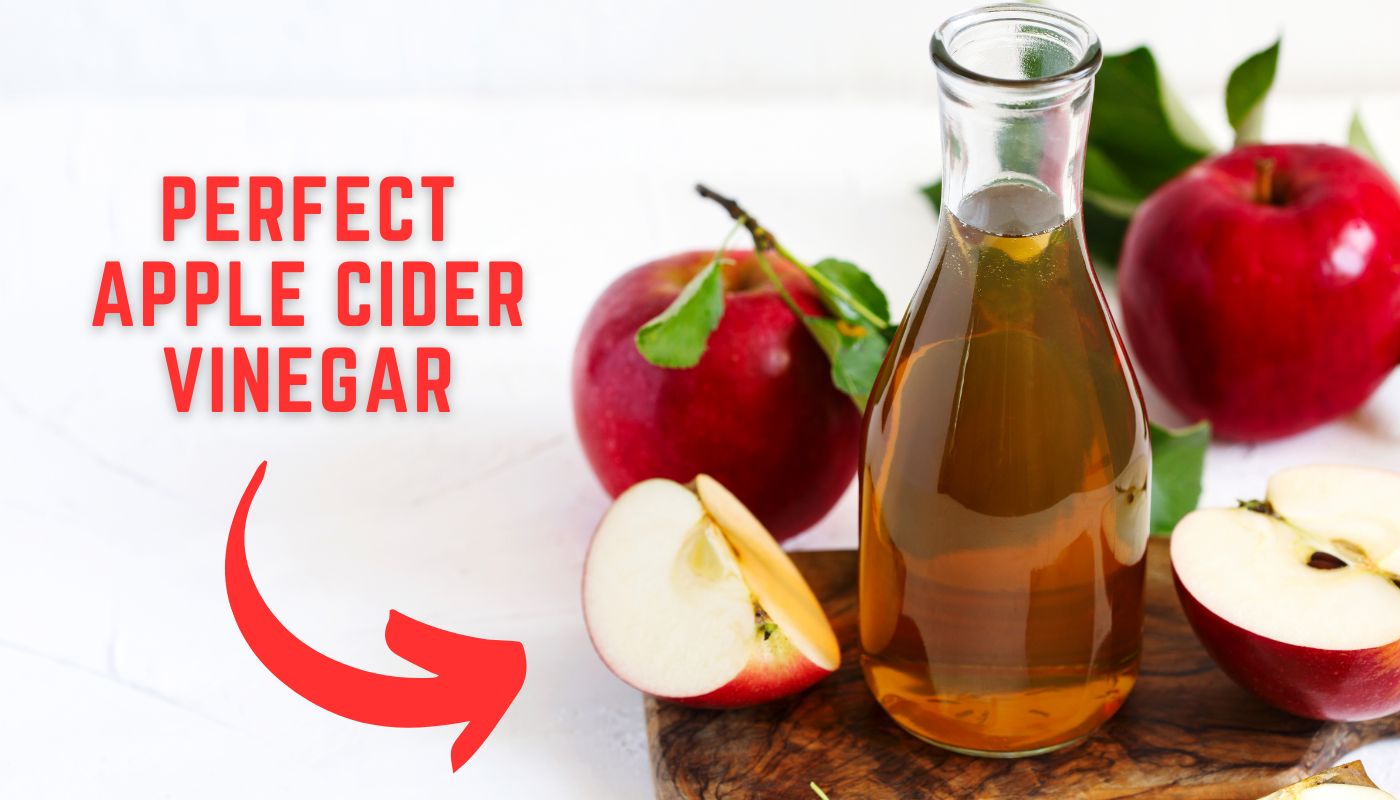
Making your own apple cider vinegar at home is a simple and rewarding process. Follow these steps to create your own batch of this versatile and healthy condiment.

Step 1: Gather Your Ingredients and Supplies
Before you begin, make sure you have all the necessary ingredients and supplies:
- Apples (6-8 medium-sized or scraps from 6-8 apples)
- Sugar (1 cup)
- Water (filtered, enough to cover the apples)
- A large glass jar or ceramic container
- A cloth or paper towel and a rubber band
- A clean bottle for storage
Step 2: Prepare the Apples
- Wash the Apples: Rinse the apples thoroughly under cold water to remove any dirt or pesticides.
- Cut the Apples: Cut the apples into small chunks, including the cores. If using scraps, ensure they are fresh and not rotten.
Step 3: Mix the Ingredients
- Add Apples to the Jar: Place the apple chunks or scraps into the glass jar, filling it about three-quarters full.
- Dissolve the Sugar: In a separate container, dissolve the sugar in a cup of filtered water. This will help to feed the fermentation process.
- Pour the Sugar Water: Pour the sugar water over the apples in the jar, then add more filtered water until the apples are completely submerged.
Step 4: Cover and Ferment
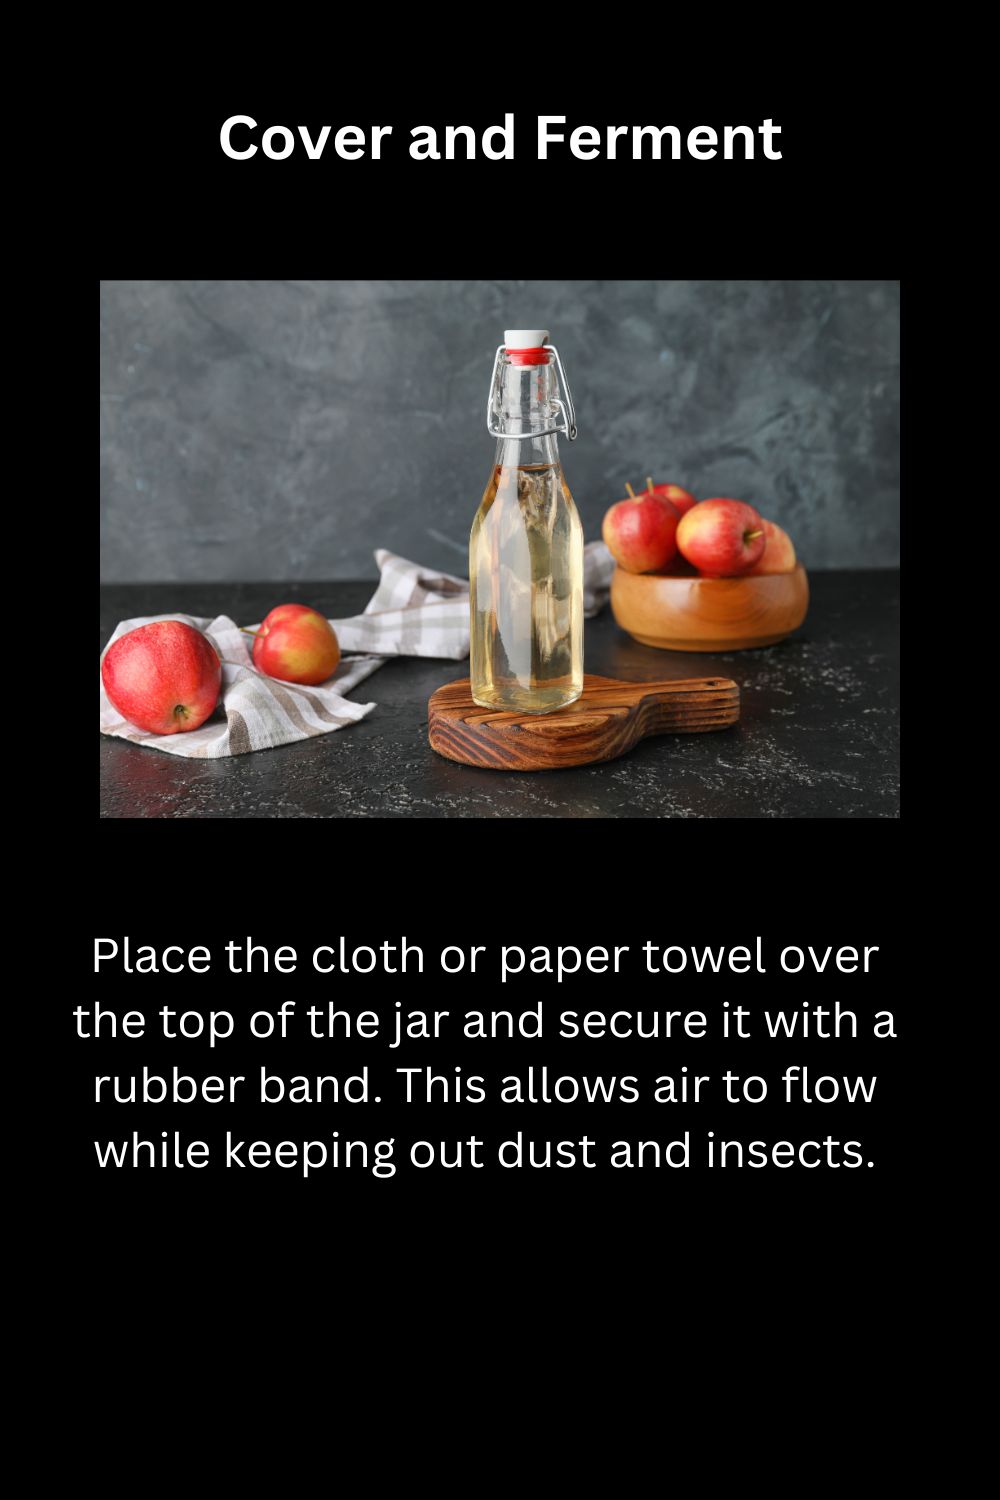
- Cover the Jar: Place the cloth or paper towel over the top of the jar and secure it with a rubber band. This allows air to flow while keeping out dust and insects.
- Store in a Dark Place: Store the jar in a dark, warm place (ideally around 60-80°F or 15-27°C) for about 3-4 weeks. Stir the mixture every few days to ensure the apples remain submerged.
Step 5: Strain the Liquid
- Check for Fermentation: After 3-4 weeks, you should notice bubbles forming, indicating that fermentation is happening.
- Strain the Liquid: Once fermentation is evident, strain the liquid through a fine mesh sieve or cheesecloth into another clean jar or container, removing the apple pieces.
Step 6: Secondary Fermentation
- Cover and Store Again: Cover the jar with the cloth or paper towel again and secure with a rubber band.
- Ferment for 3-4 Weeks: Store the liquid in a dark, warm place for another 3-4 weeks, stirring occasionally. During this period, the liquid will turn into vinegar.
Step 7: Taste and Bottle
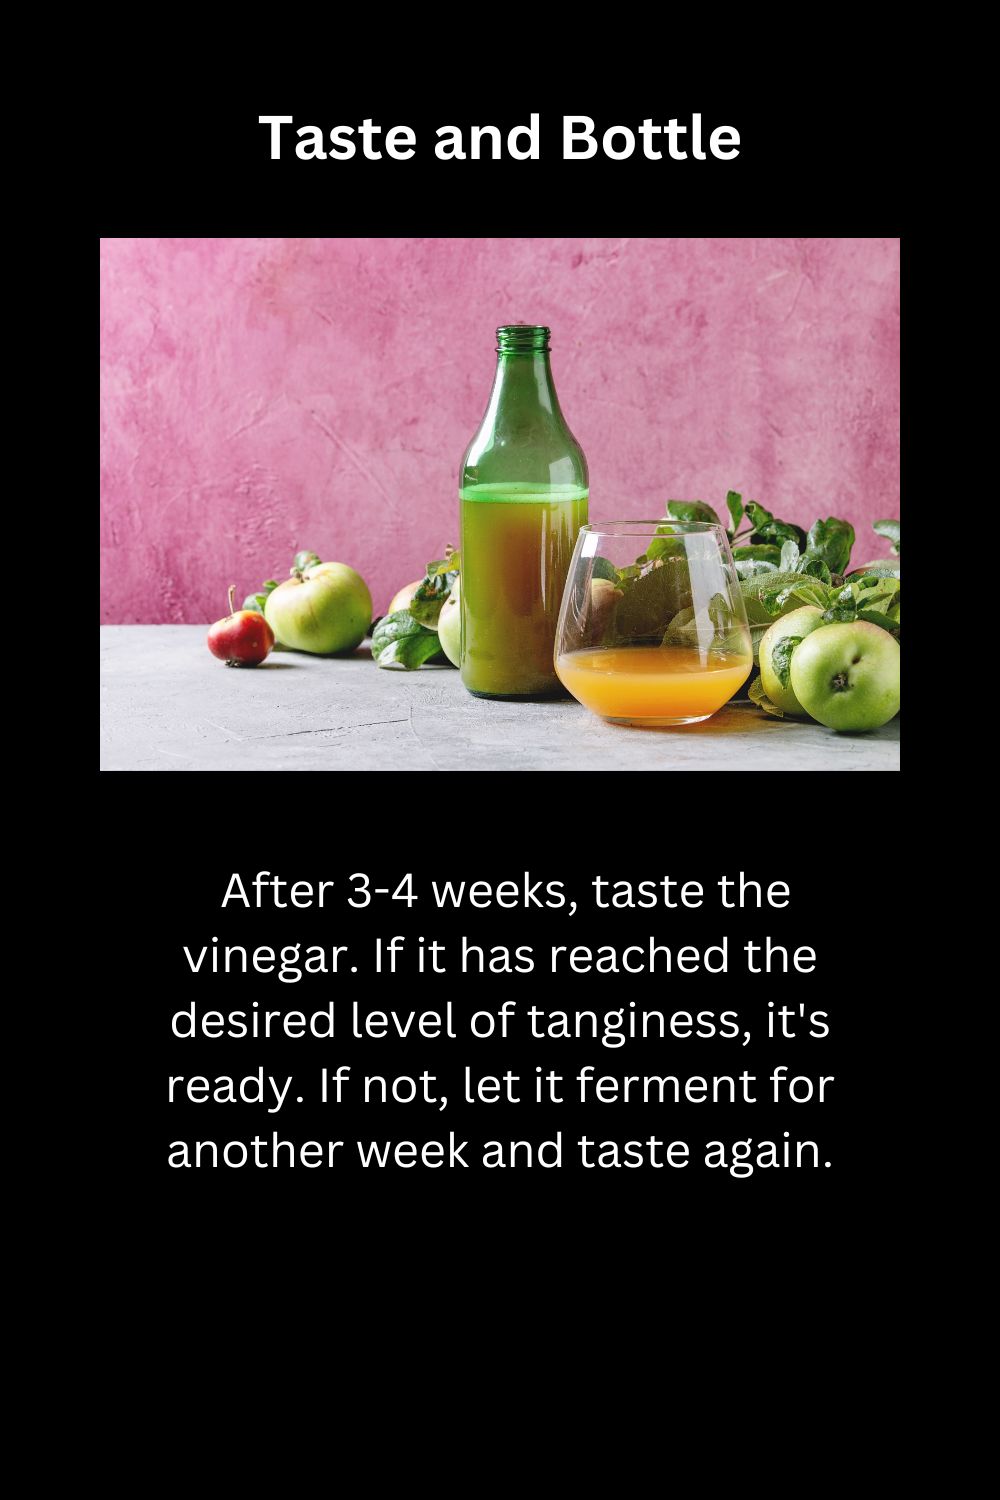
- Taste Test: After 3-4 weeks, taste the vinegar. If it has reached the desired level of tanginess, it’s ready. If not, let it ferment for another week and taste again.
- Bottle the Vinegar: Once you are satisfied with the taste, transfer the vinegar to a clean bottle using a funnel. Seal the bottle with a cap.
Step 8: Store Your Apple Cider Vinegar
- Proper Storage: Store your homemade apple cider vinegar in a cool, dark place. It can last for up to a year.
- Shake Before Use: Before using, give the bottle a shake to mix any settled particles.
Tips and Troubleshooting
- Using Organic Apples: Organic apples are preferred to avoid pesticide residue and ensure a healthy fermentation process.
- Avoid Metal Containers: Use glass or ceramic containers as metal can react with the vinegar.
- Monitoring Mold: If you notice any mold forming on the surface, remove it immediately. This is usually harmless but should be addressed.
Uses for Apple Cider Vinegar

- Culinary Uses: Use it in salad dressings, marinades, or as a flavor enhancer in various dishes.
- Health Benefits: Many people consume apple cider vinegar for its potential health benefits, such as aiding digestion and supporting weight loss.
- Household Cleaning: It can be used as a natural cleaning agent due to its antibacterial properties.
Tips for Perfecting Your Apple Cider Vinegar
Creating homemade apple cider vinegar is a rewarding process, but it can sometimes come with challenges. Here are additional tips to help you perfect your vinegar-making skills and avoid common mistakes.
Choose the Right Apples
- Variety Matters: Use a mix of sweet and tart apples for a balanced flavor. Popular choices include Fuji, Honeycrisp, and Granny Smith.
- Freshness is Key: Ensure your apples are fresh and free from rot or bruises, as damaged apples can affect the fermentation process.
Maintain Proper Hygiene
- Clean Equipment: Sterilize all jars, containers, and utensils before use to prevent contamination.
- Hand Hygiene: Always wash your hands thoroughly before handling the ingredients to avoid introducing unwanted bacteria.
Control the Environment
- Temperature: Keep the fermenting jar in a warm place, ideally between 60-80°F (15-27°C). Too cold or too hot environments can hinder fermentation.
- Light Exposure: Store the jar in a dark place. Excessive light can negatively affect the fermentation process.
Monitor the Fermentation
- Check Regularly: Stir the mixture every few days to ensure the apples remain submerged and to promote even fermentation.
- Smell Test: A sour smell indicates fermentation is occurring. If you detect any off or foul odors, it could be a sign of contamination.
Troubleshooting Common Issues
- Mold Growth: If mold appears on the surface, skim it off immediately. Ensure all apples are fully submerged in the liquid to prevent mold.
- Slow Fermentation: If fermentation is slow, check the temperature and adjust if necessary. Adding a bit more sugar can also help kickstart the process.
- Too Sweet or Too Sour: If your vinegar is too sweet, let it ferment longer. If it’s too sour, try diluting with a bit of water after fermentation is complete.

Using and Storing Your Vinegar
- Filtering: For a clearer vinegar, you can filter it through cheesecloth or a coffee filter before bottling.
- Aging: Letting your vinegar age for a few more months can enhance its flavor. Store it in a cool, dark place during this period.
Additional Tips for Success
- Mother of Vinegar: The “mother” is a cloudy, stringy substance formed during fermentation. It contains beneficial bacteria and can be used to start future batches.
- Experimenting with Flavors: Add herbs, spices, or fruits during the secondary fermentation to infuse unique flavors into your vinegar.
- Labeling: Always label your jars with the date you started fermentation to track the process accurately.
Understanding the Fermentation Stages
- Initial Fermentation: During the first few days, the mixture will bubble and foam as yeast converts the sugars into alcohol.
- Acetic Acid Formation: Over the next few weeks, bacteria convert the alcohol into acetic acid, giving vinegar its distinctive tang.
Health and Safety Considerations
- Avoiding Contamination: Always use clean utensils and containers to prevent introducing harmful bacteria into your vinegar.
- Consumption: If you’re consuming the vinegar for health benefits, start with small amounts to see how your body reacts.
What to Do if Things Go Wrong
- Contaminated Batch: If you suspect contamination and the vinegar smells or tastes off, it’s best to discard the batch and start over.
- Adjusting Flavor: If the vinegar is too strong, dilute it with water or use it in small amounts in recipes until you achieve the desired flavor.
Final Thoughts
Making apple cider vinegar at home is a simple yet intricate process that can yield excellent results with some attention to detail. By following these tips and being aware of common pitfalls, you can enjoy your homemade vinegar and its numerous benefits. Keep experimenting and refining your technique to perfect your apple cider vinegar making skills!