
Cake pops are a fun and delicious treat perfect for parties, holidays, or as a sweet snack. They’re easy to customize with your favorite flavors and decorations. Follow this guide to create the perfect cake pops at home.

Step 1: Gather Your Ingredients and Supplies
Ingredients:
- Baked Cake: 1 standard 9×13 cake, any flavor
- Frosting: 1/3–1/2 cup, any flavor
- Candy Melts or Chocolate Chips: 2–3 cups for coating
- Vegetable Oil or Shortening: 1–2 teaspoons (optional, to thin the coating)
Optional Decorations:
- Sprinkles
- Crushed nuts
- Drizzles of contrasting chocolate
Supplies:
- Mixing Bowl
- Baking Sheet
- Parchment Paper or Wax Paper
- Lollipop Sticks
- Styrofoam Block (for drying)
- Microwave-Safe Bowl (for melting candy coating)
Step 2: Bake and Cool the Cake
- Bake the Cake: Use a boxed mix or homemade recipe to bake a standard 9×13 cake. Allow it to cool completely to avoid melting the frosting later.
- Break into Crumbs: Crumble the cooled cake into fine crumbs using your hands or a fork. Transfer the crumbs to a large mixing bowl.
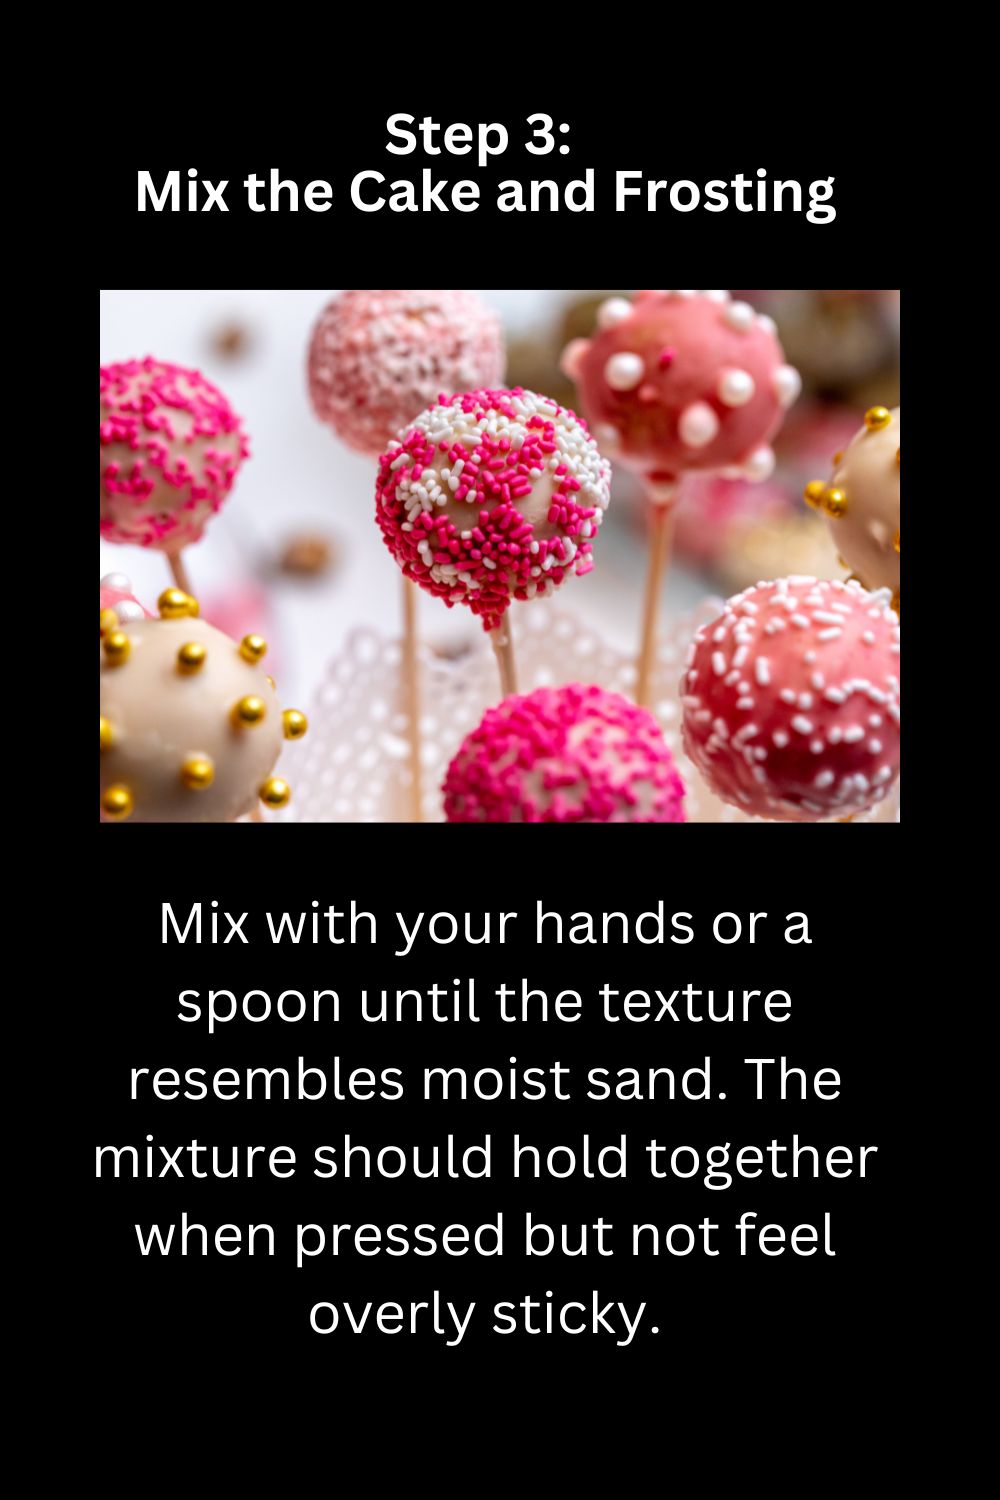
Step 3: Mix the Cake and Frosting
- Add Frosting: Start with 1/3 cup of frosting and add it to the cake crumbs.
- Combine: Mix with your hands or a spoon until the texture resembles moist sand. The mixture should hold together when pressed but not feel overly sticky.
- Adjust if Necessary: If the mixture is too dry, add more frosting a tablespoon at a time.
Step 4: Shape the Cake Balls
- Form Balls: Scoop about 1 tablespoon of the cake mixture and roll it into a smooth ball between your hands.
- Place on Baking Sheet: Arrange the cake balls on a parchment-lined baking sheet.
- Chill: Refrigerate for 1–2 hours or freeze for 15–20 minutes until firm. This makes them easier to handle and dip.
Step 5: Prepare the Candy Coating

- Melt Candy: Place candy melts or chocolate chips in a microwave-safe bowl. Microwave in 30-second intervals, stirring between each, until fully melted and smooth.
- Thin Coating (Optional): Stir in 1–2 teaspoons of vegetable oil or shortening to create a thinner, smoother coating.
Step 6: Attach Sticks to Cake Balls
- Dip Sticks: Dip the tip of a lollipop stick into the melted coating.
- Insert into Cake Ball: Push the stick about halfway into a cake ball. The melted coating acts as glue to secure the stick.
- Chill Again: Return the cake pops to the fridge or freezer for 10–15 minutes to set the coating.
Step 7: Dip and Coat the Cake Pops
- Dip the Cake Pops: Hold the lollipop stick and dip the cake pop into the melted coating, ensuring it’s fully covered.
- Tap to Remove Excess: Gently tap the stick against the edge of the bowl to remove excess coating and achieve a smooth finish.
- Decorate: Immediately add sprinkles, nuts, or other decorations before the coating sets.
Step 8: Dry the Cake Pops
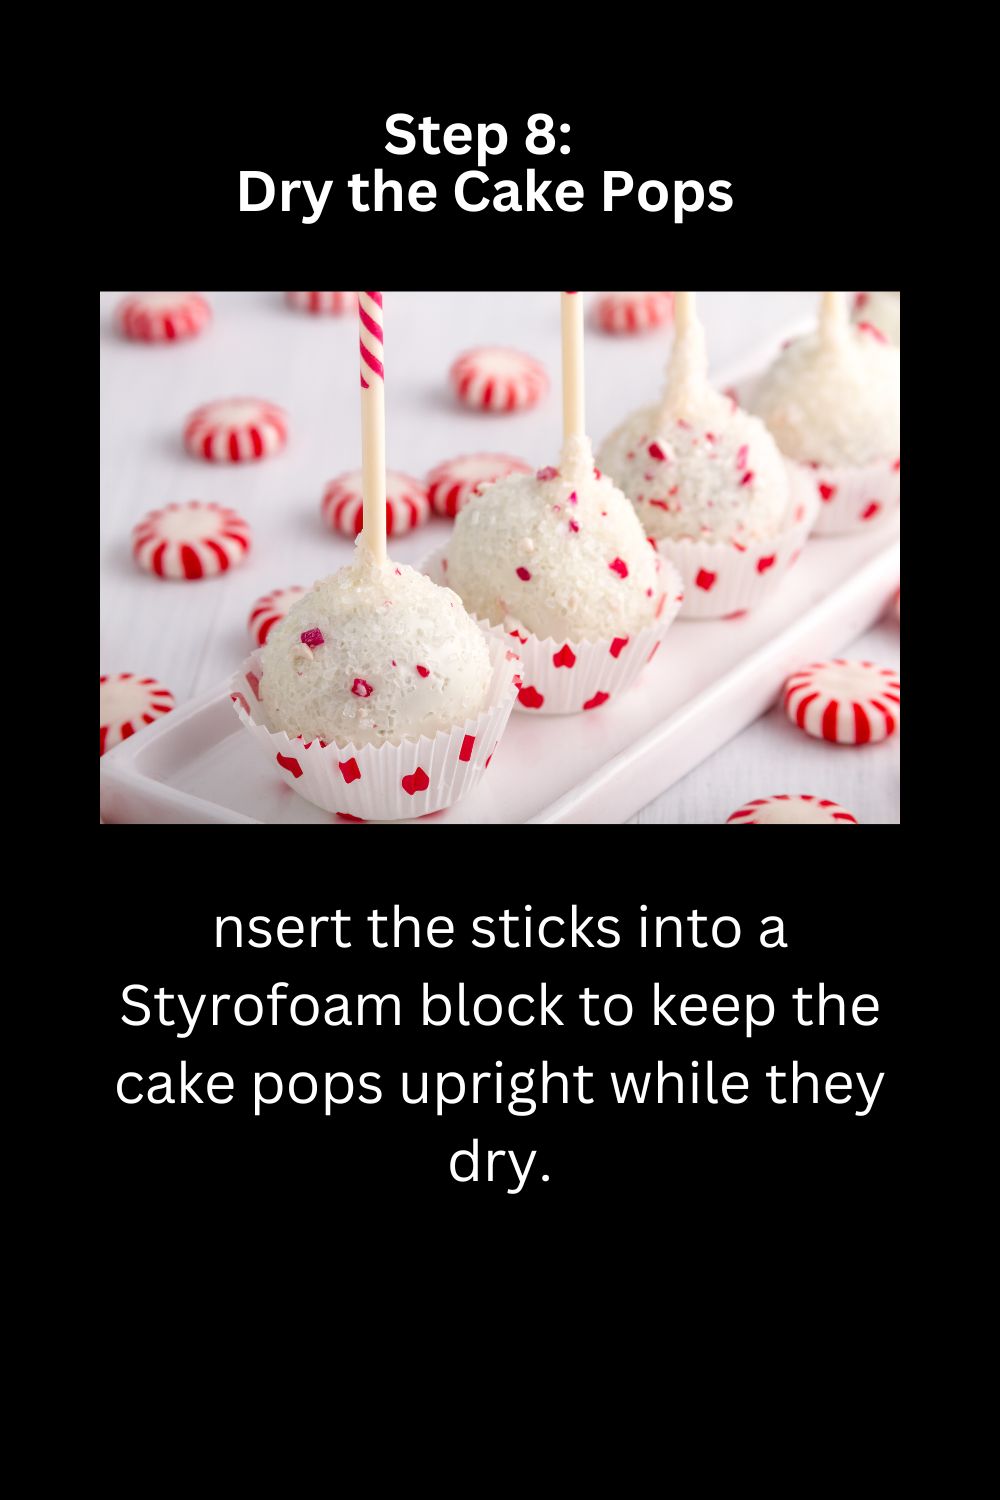
- Use Styrofoam Block: Insert the sticks into a Styrofoam block to keep the cake pops upright while they dry.
- Let Set: Allow the coating to harden completely at room temperature or in the fridge.
Step 9: Serve and Store
- Serve: Display the cake pops in a jar, vase, or decorative stand for an eye-catching presentation.
- Store: Store in an airtight container at room temperature for up to 2 days, or in the fridge for up to a week.
Optional Variations
- Flavor Combinations:
- Red velvet cake with cream cheese frosting.
- Chocolate cake with peanut butter frosting.
- Vanilla cake with strawberry frosting.
- Colorful Coating:
- Use candy melts in different colors for themed cake pops.
- Drizzle contrasting colors for a decorative effect.
- Special Shapes:
- Use cookie cutters or molds to shape cake pops into hearts, stars, or other designs.
Troubleshooting Common Issues
Problem: Cake Pops Fall Off the Stick
- Solution: Ensure the cake balls are chilled and secure the stick with a dab of coating before inserting.
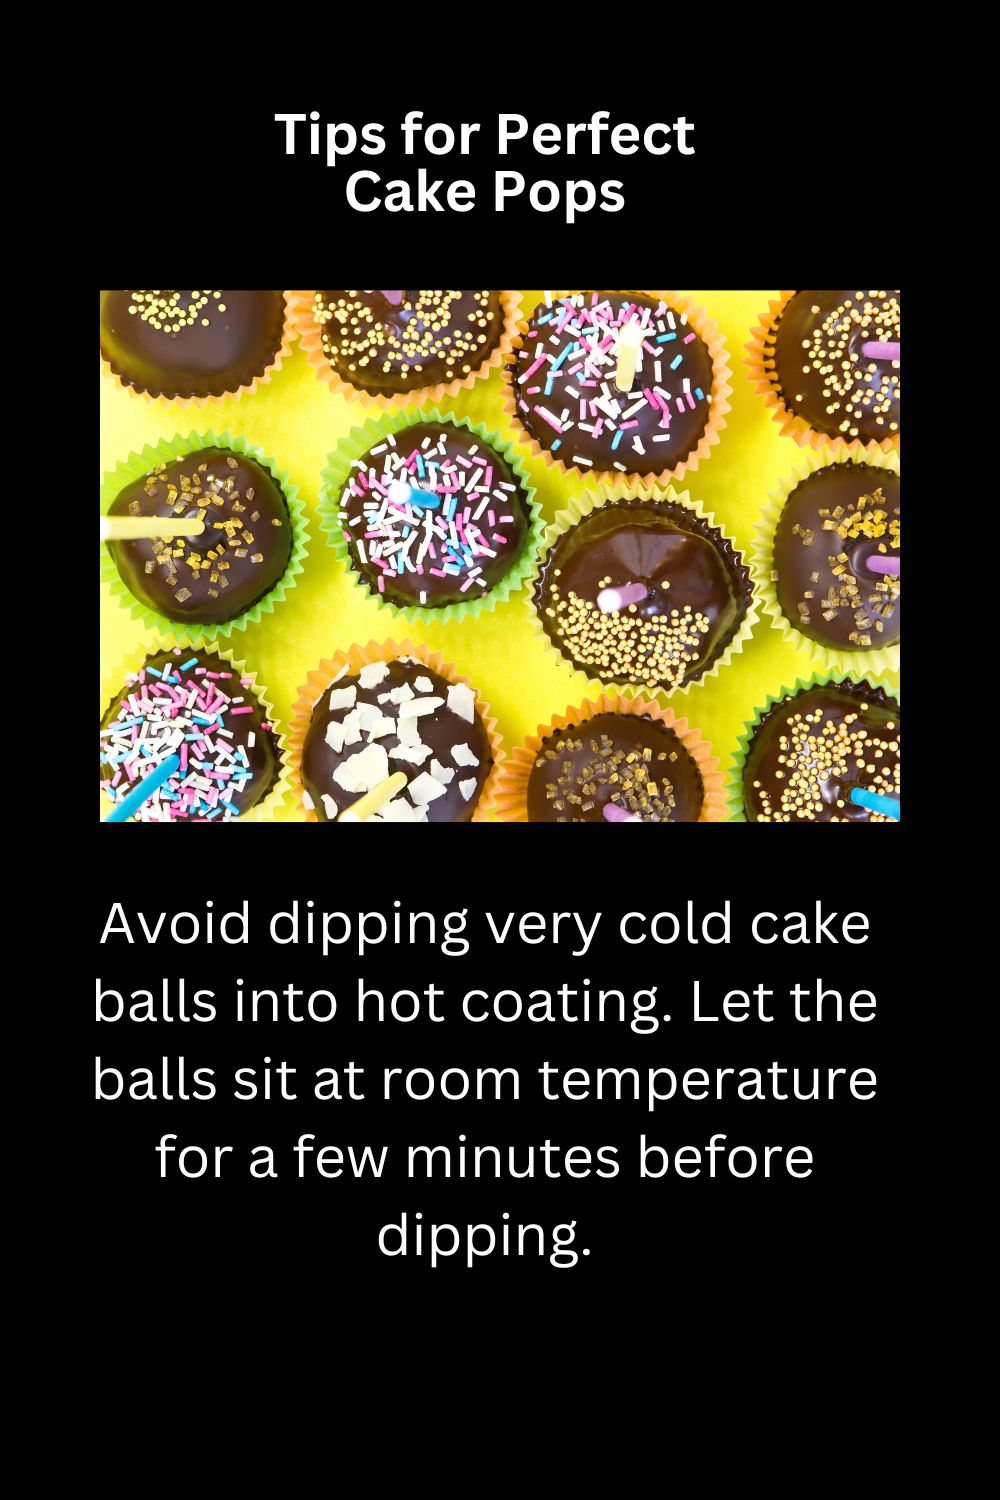
Problem: Cracks in Coating
- Solution: Avoid dipping very cold cake balls into hot coating. Let the balls sit at room temperature for a few minutes before dipping.
Problem: Lumpy Coating
- Solution: Reheat the coating and stir in a little vegetable oil to smooth it out.
Tips for Perfect Cake Pops
- Work in Batches: Keep some cake balls in the fridge while working with others to prevent softening.
- Use a Deep Bowl: A deep bowl makes it easier to fully submerge the cake pops in the coating.
- Experiment with Decorations: Get creative with edible glitter, crushed candy, or piped designs.
Final Thoughts
Making cake pops at home is a fun and creative way to enjoy a bite-sized dessert. With endless flavor and decoration options, they’re perfect for any occasion. Follow these steps, troubleshoot as needed, and let your imagination guide your cake pop creations