
Before diving into the pie-making process, make sure you have all the necessary ingredients on hand. A perfectly balanced apple pie starts with a flaky crust and a sweet, spiced filling. Gather your flour, butter, and apples, and let’s get ready to create a classic homemade dessert that will delight everyone at the table.

Step 1: Gather Your Ingredients
To make a delicious apple pie, you’ll need the following ingredients:
- For the crust:
- 2 1/2 cups all-purpose flour
- 1 teaspoon salt
- 1 cup (2 sticks) unsalted butter, chilled and cut into cubes
- 1/4 cup ice water
- For the filling:
- 6-7 cups thinly sliced, peeled apples (Granny Smith or Honeycrisp work well)
- 3/4 cup granulated sugar
- 1/4 cup packed brown sugar
- 1 tablespoon lemon juice
- 1 teaspoon ground cinnamon
- 1/4 teaspoon ground nutmeg
- 1/4 teaspoon salt
- 2 tablespoons all-purpose flour
- For the egg wash:
- 1 egg, beaten
- 1 tablespoon milk
Step 2: Prepare the Crust
- Mix the Dry Ingredients: In a large bowl, combine the flour and salt.
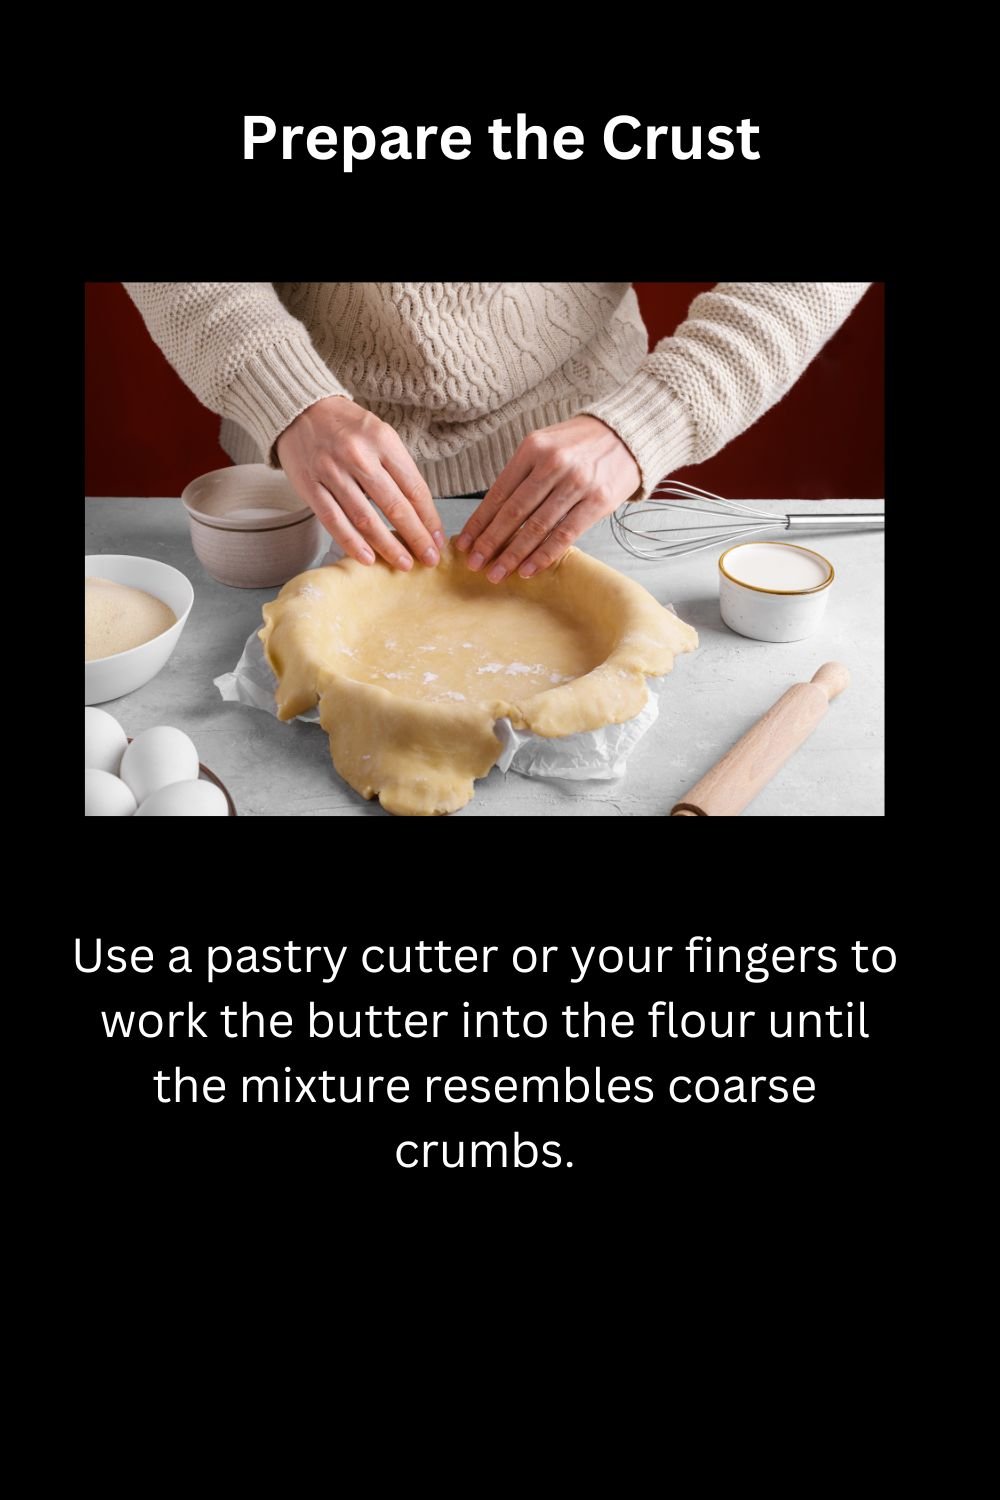
- Add the Butter: Add the chilled butter cubes to the flour mixture. Use a pastry cutter or your fingers to work the butter into the flour until the mixture resembles coarse crumbs.
- Add Ice Water: Gradually add ice water, 1 tablespoon at a time, until the dough starts to come together. Do not overwork the dough.
- Form the Dough: Divide the dough into two equal parts. Shape each part into a disc, wrap in plastic wrap, and refrigerate for at least 1 hour.
Step 3: Prepare the Filling
- Slice the Apples: Peel and thinly slice the apples. Aim for uniform slices to ensure even baking.
- Mix the Filling: In a large bowl, combine the sliced apples, granulated sugar, brown sugar, lemon juice, cinnamon, nutmeg, salt, and flour. Toss until the apples are evenly coated.
Step 4: Roll Out the Dough
- Flour the Surface: Lightly flour a clean surface and rolling pin.
- Roll the Dough: Remove one dough disc from the refrigerator and roll it out into a 12-inch circle. Transfer it to a 9-inch pie dish, allowing the excess dough to hang over the edges.
- Fill the Pie: Pour the apple filling into the crust, spreading it out evenly.
Step 5: Assemble the Top Crust
- Roll Out the Second Disc: Roll out the second dough disc into a 12-inch circle.
- Cut and Weave (Optional): If making a lattice crust, cut the dough into 1-inch strips. Lay half the strips horizontally across the pie, then weave the remaining strips vertically to form a lattice. If not, simply place the rolled-out dough over the filling.
- Seal and Trim: Trim the excess dough, leaving about 1/2 inch overhang. Fold the edges under and crimp with your fingers or a fork to seal.
Step 6: Apply the Egg Wash

- Prepare the Egg Wash: In a small bowl, whisk together the beaten egg and milk.
- Brush the Crust: Lightly brush the egg wash over the top crust. This will give the pie a golden, shiny finish.
Step 7: Bake the Pie
- Preheat the Oven: Preheat your oven to 375°F (190°C).
- Bake the Pie: Place the pie on a baking sheet to catch any drips. Bake for 50-60 minutes, or until the crust is golden brown and the filling is bubbly.
- Check for Doneness: If the crust is browning too quickly, cover the edges with aluminum foil to prevent burning.
Step 8: Cool the Pie
- Let It Cool: Remove the pie from the oven and place it on a wire rack. Allow it to cool for at least 2 hours before serving. This helps the filling set.
Step 9: Serve and Enjoy
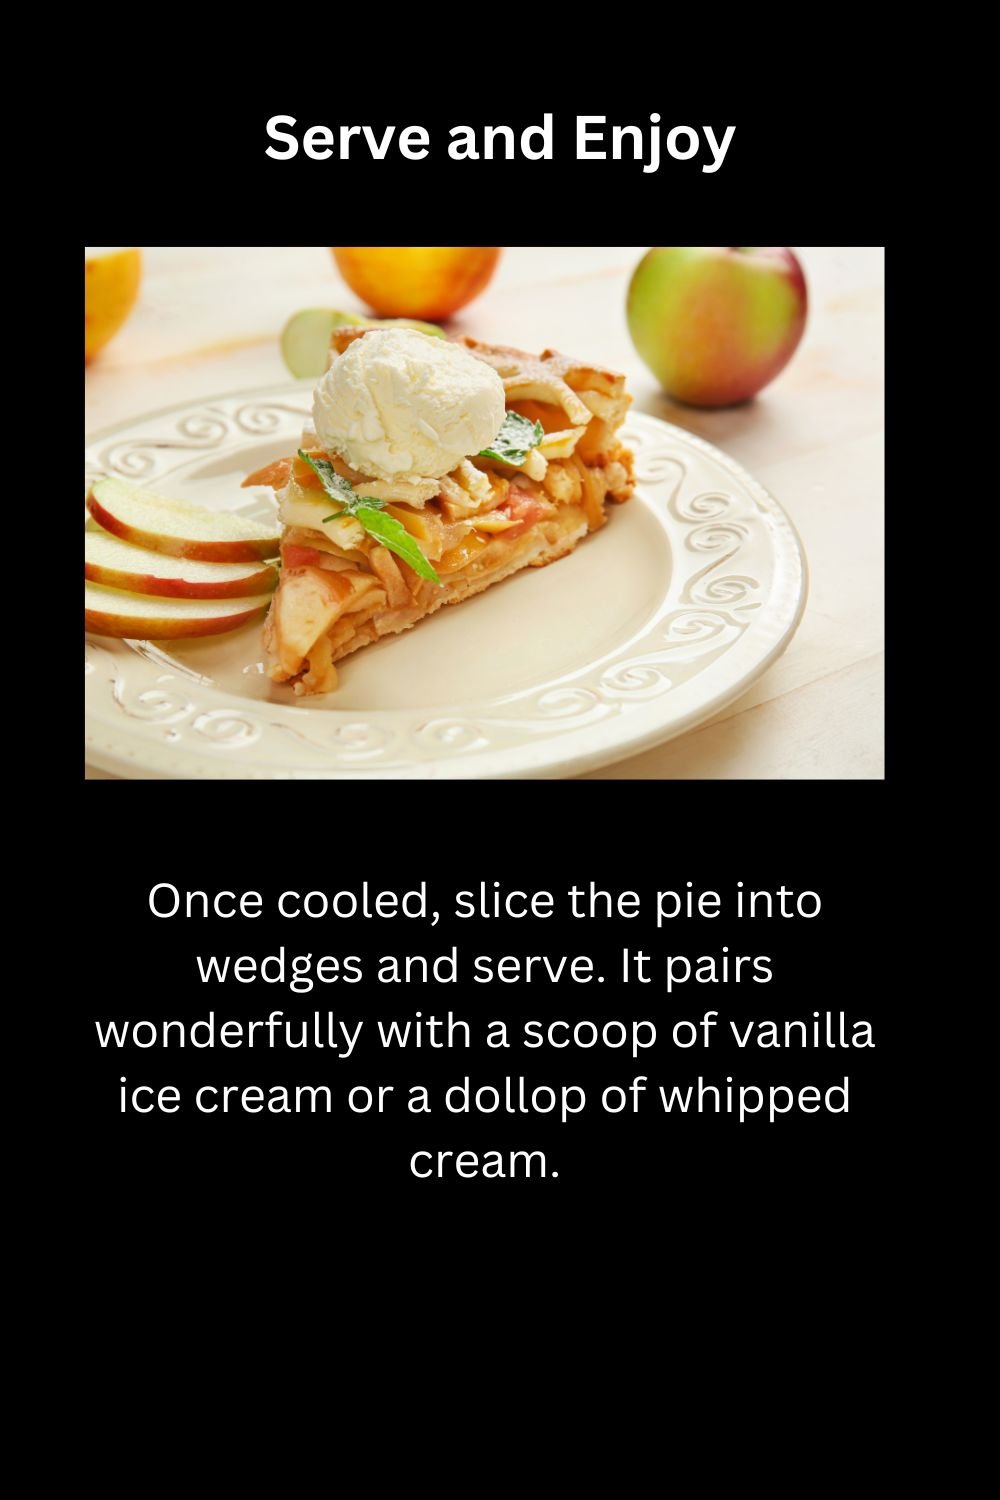
- Slice and Serve: Once cooled, slice the pie into wedges and serve. It pairs wonderfully with a scoop of vanilla ice cream or a dollop of whipped cream.
Step 10: Store Leftovers
- Cover and Store: If you have leftovers, cover the pie with plastic wrap or aluminum foil and store at room temperature for up to 2 days. For longer storage, keep the pie in the refrigerator for up to 5 days.
Tips and Common Mistakes When Making Apple Pie
Tips for Making the Perfect Apple Pie
Choose the Right Apples
- Best Varieties: Use firm, tart apples like Granny Smith, Honeycrisp, or Braeburn. These varieties hold their shape well during baking and provide a balanced flavor.
- Mix for Depth: Mixing different types of apples can add complexity to your pie’s flavor and texture.
Keep Your Ingredients Cold
- Cold Butter: Ensure your butter is chilled before mixing it into the flour. Cold butter creates flaky layers in the crust.
- Ice Water: Use ice-cold water when making the dough to help keep the butter cold.
Roll Dough Evenly
- Uniform Thickness: Roll your dough to an even thickness to ensure it bakes evenly. Aim for about 1/8 inch thick.
- Prevent Sticking: Lightly flour your work surface and rolling pin to prevent the dough from sticking.
Handle the Dough Gently
- Don’t Overwork: Overworking the dough can result in a tough crust. Mix and knead just enough to bring the dough together.
- Rest the Dough: Letting the dough rest in the refrigerator allows the gluten to relax, making it easier to roll out.
Perfect Your Filling
- Consistent Slices: Slice apples uniformly to ensure even baking.
- Toss Thoroughly: Make sure all apple slices are evenly coated with the sugar and spice mixture.
Common Mistakes and How to Avoid Them

Mistake 1: Soggy Bottom Crust
- Solution: To avoid a soggy bottom crust, bake your pie on the lower rack of the oven. This helps the bottom crust to cook thoroughly.
- Alternative: Pre-bake (blind bake) the bottom crust for a few minutes before adding the filling.
Mistake 2: Runny Filling
- Solution: Ensure you add enough thickening agents like flour or cornstarch to the filling. Apples release a lot of juice during baking, and these agents help to thicken it.
- Let It Cool: Allow the pie to cool completely before cutting. The filling needs time to set.
Mistake 3: Overbrowning Crust
- Solution: If the crust starts browning too quickly, cover the edges with aluminum foil or a pie crust shield to prevent burning while the filling continues to cook.
Mistake 4: Tough Crust
- Solution: Avoid overworking the dough and keep your ingredients cold. Overhandling the dough can develop too much gluten, resulting in a tough crust.
Mistake 5: Uneven Baking
- Solution: Rotate the pie halfway through baking to ensure even heat distribution. This helps prevent uneven browning and ensures the pie bakes uniformly.
Mistake 6: Cracked Top Crust
- Solution: If the dough is too cold, it can crack when rolled. Let it sit at room temperature for a few minutes to soften slightly before rolling out.
Mistake 7: Spilling Filling
- Solution: Place your pie on a baking sheet to catch any spills. This keeps your oven clean and prevents burning sugar.
Additional Tips for Success
Use a Pie Shield
- Prevent Overbrowning: A pie shield can protect the edges of your crust from overbrowning while the rest of the pie bakes.
Vent the Top Crust
- Steam Escape: Cut slits or create a lattice pattern in the top crust to allow steam to escape. This helps prevent a soggy crust and ensures the filling cooks properly.
Brush with Egg Wash
- Golden Finish: An egg wash gives the crust a beautiful golden color and a slight sheen. Be careful not to overapply, as it can drip and burn.
Experiment with Flavors
- Add Depth: Consider adding a splash of vanilla extract, a pinch of cardamom, or a handful of raisins to your filling for a unique twist.
Practice Patience
- Cool Completely: Let your pie cool completely before slicing. This allows the filling to set and makes slicing easier and cleaner.
Congratulations! You’ve just made a classic apple pie from scratch. With its flaky crust and perfectly spiced filling, your pie is sure to impress. Whether enjoyed with a scoop of ice cream or on its own, this homemade treat is the perfect way to celebrate any occasion. Savor each bite and don’t forget to share a slice with your loved ones!