Ingredients
- Bacon strips
Equipment
- Baking sheet
- Aluminum foil (optional, for easier cleanup)
- Cooling rack (optional, for extra crispiness)
Instructions
1) Preheat the Oven: Set your oven to 400 degrees Fahrenheit (204 degrees Celsius). This temperature helps to cook the bacon evenly without burning it.

- Setting the Temperature: Preheat your oven to 400 degrees Fahrenheit (204 degrees Celsius). This is a standard temperature for cooking bacon that allows it to become nicely crispy without burning. If your oven tends to run hot, you may consider setting it slightly lower to avoid overcooking.
- Why 400 Degrees?: This temperature strikes a good balance between cooking the bacon thoroughly and achieving a crisp texture. Lower temperatures might leave the bacon too chewy or undercooked, while higher temperatures could burn it before it crisps evenly.
- Allowing the Oven to Heat Fully: Ensure that the oven has reached the desired temperature before you put the bacon in. Placing bacon in an oven that’s still heating up can lead to uneven cooking. Most ovens take about 10-15 minutes to reach 400 degrees, but this can vary. Many modern ovens feature a preheat indicator light or a beep to let you know when they’re properly heated.
- Using an Oven Thermometer: If you’re unsure about your oven’s accuracy, or if it’s an older model, using an oven thermometer can help you confirm that it has reached the correct temperature. This is particularly useful because actual temperatures can sometimes differ from what’s shown on the oven’s dial.
- Convection vs. Conventional Ovens: If you are using a convection oven, which circulates air to promote even baking, you might need to reduce the temperature by about 25 degrees Fahrenheit (about 14 degrees Celsius) to 375 degrees Fahrenheit (190 degrees Celsius). Convection ovens can cook bacon faster due to the air circulation, so keep an eye on it to prevent burning
2) Prepare the Baking Sheet: Choose the right baking sheet and line it with aluminum foil. This containment strategy is crucial for catching all the bacon grease, which simplifies your cleanup later.

- Choosing the Right Baking Sheet: Opt for a sturdy, rimmed baking sheet to handle the weight and grease of the bacon without warping under the oven’s heat. A half-sheet pan (approximately 18″ x 13″) is ideal as it provides ample space to lay out multiple strips of bacon.
- Lining with Aluminum Foil: Carefully line your baking sheet with aluminum foil, ensuring to cover the entire surface and the edges. This containment strategy is crucial for catching all the bacon grease, which simplifies your cleanup later. Press the foil into the corners and mold it up the sides of the baking sheet to create a barrier that prevents grease from escaping.
- Utilizing a Cooling Rack (Optional): For extra crispy results, consider placing an oven-safe cooling rack on top of the lined baking sheet. This setup elevates the bacon, allowing hot air to circulate more freely around the strips, thus cooking them more evenly and crisping them up nicely. If you use a cooling rack, make sure it’s centered on the baking sheet and grease it lightly with cooking spray to prevent sticking.
- Benefits of a Cooling Rack: Using a cooling rack is especially advantageous as it keeps the bacon out of the grease pool that forms as it cooks. This not only leads to crisper bacon but may also be a healthier option since the bacon doesn’t reabsorb the rendered fat.
- Arrangement Tips: If you’re not using a cooling rack, shake the baking sheet gently to ensure the foil lies flat, avoiding creases or folds that could trap grease and create hotspots, leading to uneven cooking.
3) Arrange the Bacon: This is crucial as it allows the hot air to circulate freely around each piece, which helps in achieving an even crispness and thorough cooking.

- Handling the Bacon: Remove the bacon from its packaging and separate the slices gently. If you find the bacon slices are sticking together, it can be helpful to peel them apart with the edge of a knife or simply let them warm slightly at room temperature for easier separation.
- Laying Out the Bacon: Place each strip of bacon onto the lined baking sheet or cooling rack. Arrange them side by side in a single layer, making sure they do not overlap. Overlapping can cause the bacon to cook unevenly as the areas covered by another piece of bacon will steam rather than crisp.
- Spacing: Leave a small amount of space between each strip of bacon. This space is crucial as it allows the hot air to circulate freely around each piece, which helps in achieving an even crispness and thorough cooking. If you’re using a cooling rack, this also prevents the bacon from sticking together as it shrinks during cooking.
- For Thick-Cut Bacon: If you are using thick-cut bacon, consider giving a little more space between each slice, as it tends to release more fat and needs slightly longer to become crispy.
- Adjusting Quantity: Depending on the size of your baking sheet and the length of your bacon strips, you might not be able to cook a whole package at once without crowding. It’s better to cook in batches than to overcrowd the sheet.
- Handling Curly Ends: If you notice any slices of bacon curling up at the ends, you can press them down gently with a fork or tongs early in the cooking process before the bacon becomes crisp. Alternatively, you can use a bacon press or a small oven-safe item to keep them flat.
- Use of Parchment Paper (Optional): For even easier cleanup and to prevent sticking, you can also line your baking sheet with parchment paper under the foil or directly on the baking sheet if not using foil. This is particularly useful when not using a cooling rack, as it can help in achieving a non-stick surface.
4) Bake the Bacon: Bake the bacon for 15-20 minutes according to preference.

- Placing in the Oven: Slide the prepared baking sheet with the bacon into the preheated oven. Position the sheet in the middle rack to ensure even heat distribution. If you’re cooking multiple sheets at once, you may need to rotate them halfway through the cooking process to ensure even browning.
- Setting the Timer: Bake the bacon for 15-20 minutes. However, since ovens and bacon thickness vary, the first batch might need a bit of watching to establish the perfect timing. Set an initial timer for 12 minutes to check on the progress, especially if you’re using thinner slices that might cook quicker.
- Monitoring for Crispness: After the initial 12 minutes, check the bacon. Carefully pull the oven rack out or open the oven door to ensure you have a clear view. Use tongs to lift a piece and check its texture. The bacon should be starting to brown along the edges and become crispy.
- Adjusting Cooking Time: If the bacon isn’t as crispy as you’d like, return it to the oven for a few more minutes. Keep a close eye on it, checking every minute or so. This is crucial because bacon can go from perfectly crispy to burnt in a short time.
- Thickness Considerations: For thick-cut bacon, expect the longer end of the baking range, around 18-20 minutes. For very thin bacon, it might be ready closer to 12 minutes.
- Achieving Desired Crispness: Some prefer their bacon chewy with a slight crispness, while others like it completely crispy. Adjust your cooking time based on your preference. Remember, the bacon will continue to crisp up a bit more once it’s out of the oven and cooling.
- Safety Tips: Be cautious when opening the oven and when checking the bacon, as the hot grease can splatter. Using an oven mitt is advisable when pulling out the rack.
- Using Convection: If you are using a convection oven, set the temperature about 25 degrees Fahrenheit lower than you would for a conventional oven, as the fan and exhaust system circulate hot air and cook food faster. This might reduce your cooking time.
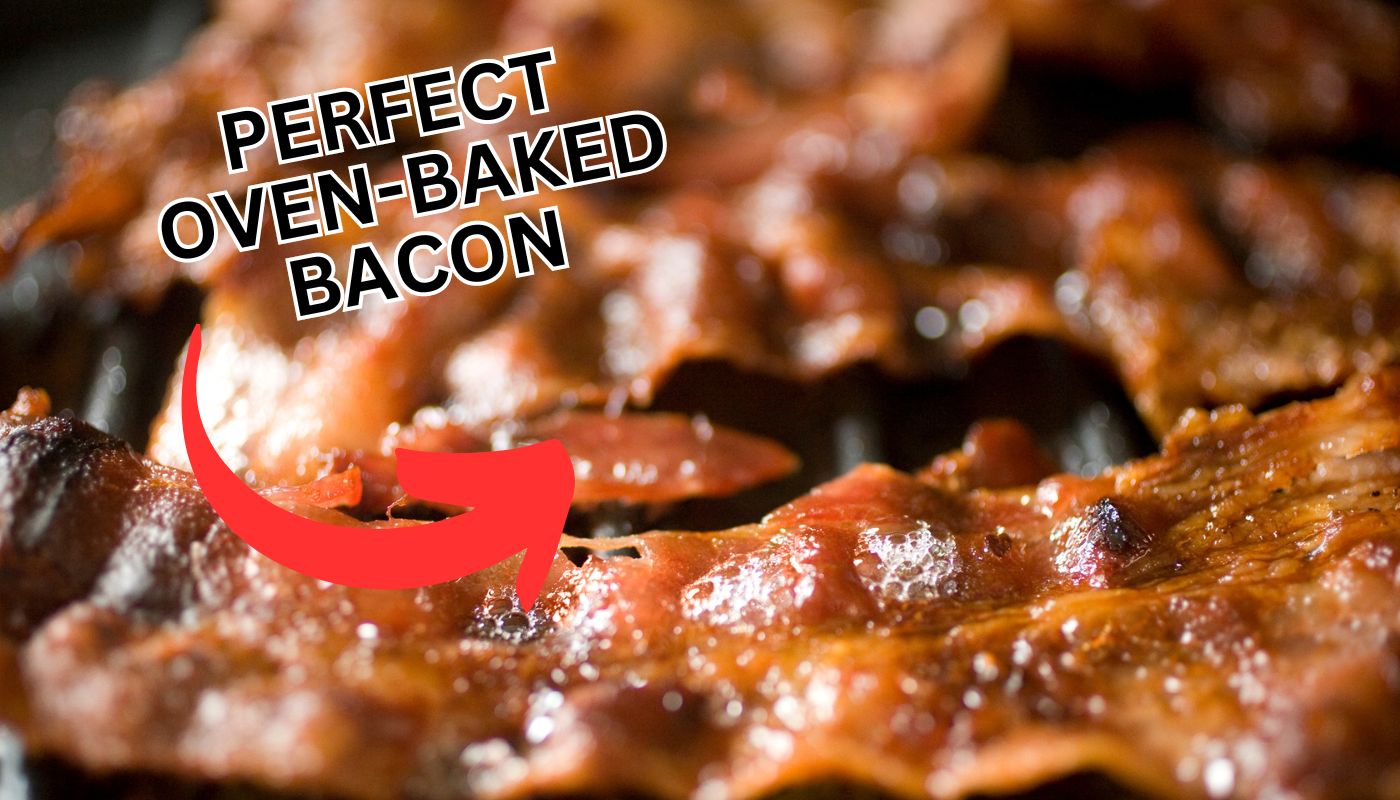
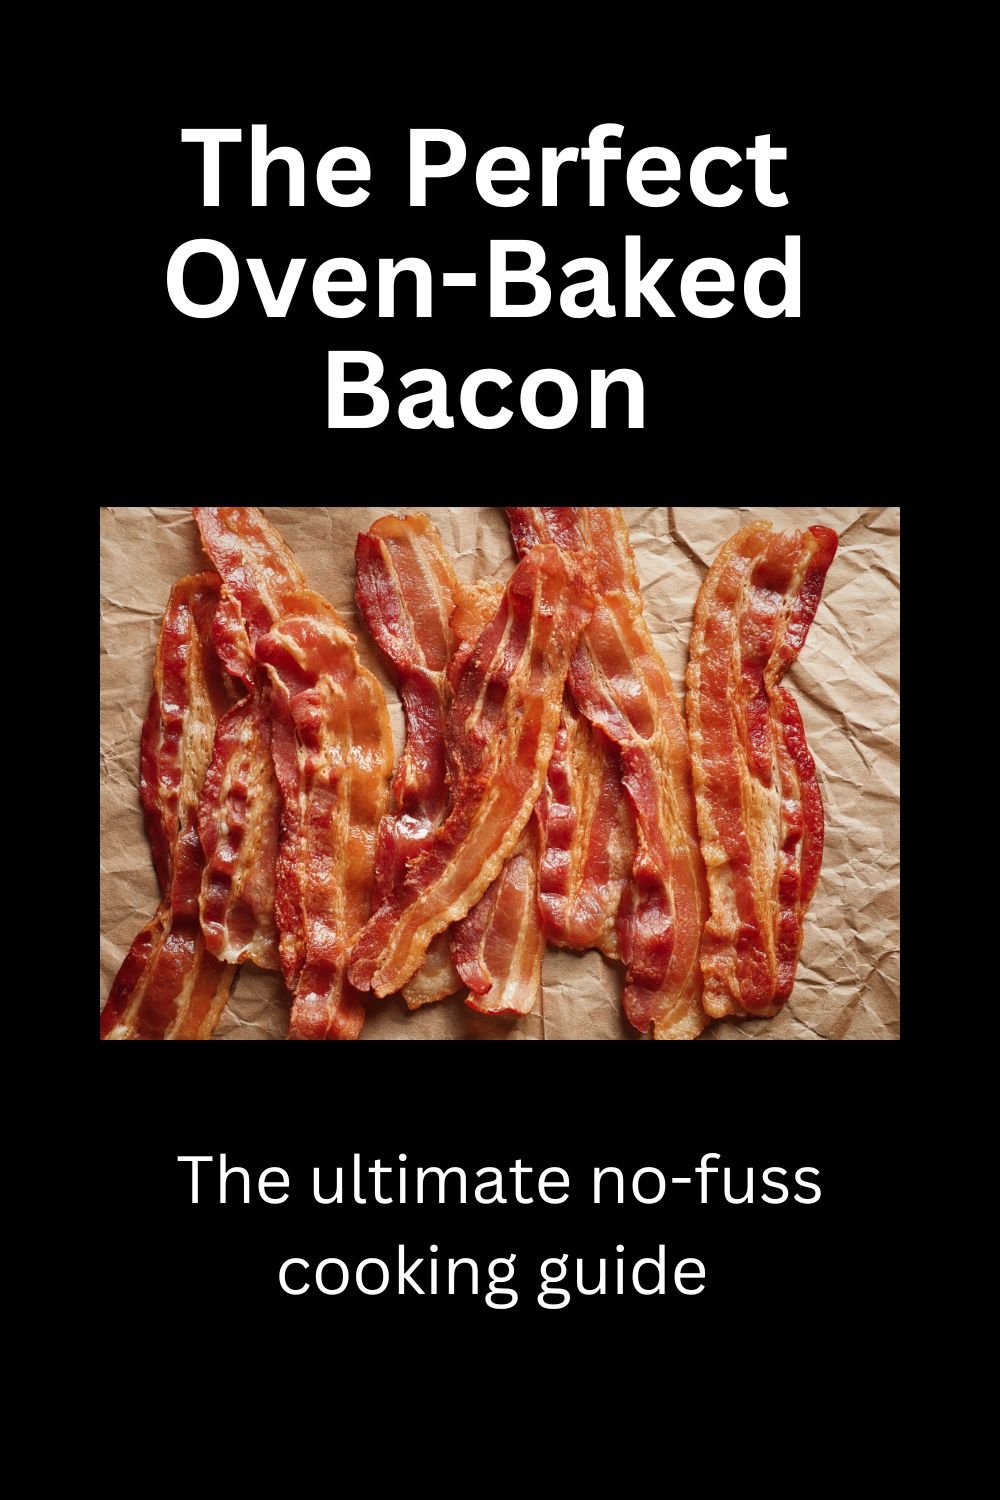
5) Check for Doneness: Properly cooked bacon should appear golden brown and crispy.

- Visual Inspection: The most straightforward way to check if bacon is done is by looking at its color and texture. Properly cooked bacon should appear golden brown and crispy. If the edges are sizzling and the fat is rendered transparent, it’s likely done.
- Using Tongs to Examine: Carefully use kitchen tongs to lift a slice and check how it holds its shape. Bacon that’s ready will have a certain degree of firmness and will not flop excessively. If it’s still very floppy, it likely needs more time, especially if you prefer it crispier.
- Testing Crispness: Gently tap a slice with the tongs; well-done bacon will have a slight brittleness and sound crispy when tapped. If it still feels too soft, especially in the middle, it needs more cooking.
- Smell Check: Bacon emits a distinct smell when done; it should smell rich and savory. If you start smelling a sharp, burnt odor, it’s a sign that it may be overcooking, and you should remove it immediately to prevent burning.
- Thickness Factor: Keep in mind the thickness of your bacon. Thicker slices will naturally take longer to reach the desired level of crispness compared to thinner slices. This variability needs to be accounted for when checking for doneness.
- Chewy vs. Crispy Preferences: Personal preference plays a big role in determining when bacon is ‘done.’ Some prefer it chewy and slightly underdone, while others might prefer it extremely crispy and brittle. Adjust your cooking time based on these preferences.
- Final Minutes are Crucial: The bacon can go from perfect to burnt very quickly, so the final minutes of cooking are crucial. It’s advisable to stay close to the oven and check the bacon frequently as it approaches your desired doneness.
- Cooling Impact: Remember that bacon will continue to crisp up as it cools. If it’s on the brink of your preferred crispness when you pull it out, it’s likely to be perfect once it cools slightly.
- Safety Note: When opening the oven and checking the bacon, be cautious of steam and hot grease that can cause burns. Use oven mitts or a sturdy oven glove to protect your hands.
Tips
- For Thick-Cut Bacon: Increase the cooking time as needed. Thick-cut bacon might need up to 25-30 minutes.
- For Softer Bacon: Reduce the oven temperature slightly and cook for a shorter time to retain more chewiness.
- Storage: You can store cooked bacon in the refrigerator for up to a week or freeze it for longer storage. It reheats well in the microwave or back in the oven for a few minutes.


