
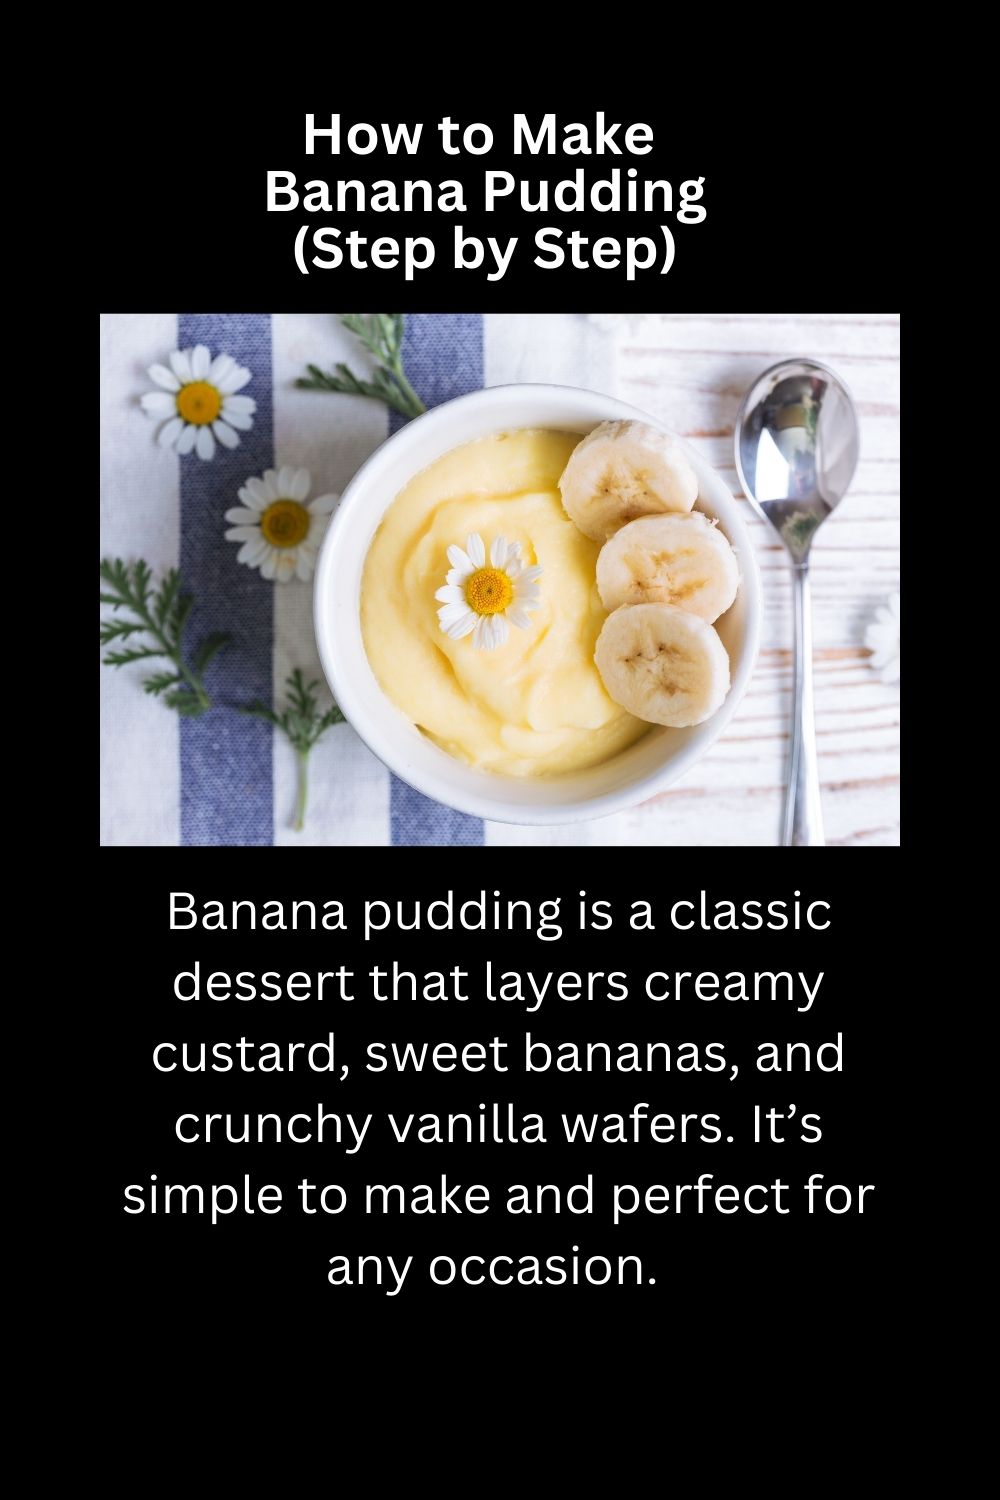
Banana pudding is a classic dessert that layers creamy custard, sweet bananas, and crunchy vanilla wafers. It’s simple to make and perfect for any occasion. Follow this step-by-step guide to create a delicious homemade banana pudding.
Step 1: Gather Your Ingredients and Tools
Ingredients:
- Milk: 2 cups (whole milk for creaminess)
- Sugar: ¾ cup
- Cornstarch: 3 tablespoons
- Egg Yolks: 3 large egg yolks
- Vanilla Extract: 1 teaspoon
- Bananas: 3–4 ripe bananas, sliced
- Vanilla Wafers: 1 box
- Whipped Cream: 1 cup (store-bought or homemade)
- Optional Topping: Crushed vanilla wafers or a sprinkle of cinnamon.
Tools:
- Medium Saucepan: For making the custard.
- Whisk: For mixing the custard ingredients.
- Mixing Bowl: To assemble the pudding.
- Spoon or Spatula: For layering.
- Serving Dish: A glass bowl or individual dessert cups for serving.
Step 2: Make the Custard
- Combine Ingredients: In a medium saucepan, whisk together:
- ¾ cup sugar
- 3 tablespoons cornstarch
- A pinch of salt (optional for flavor balance)
- Add Milk: Gradually whisk in 2 cups of milk until smooth.
- Heat the Mixture: Place the saucepan over medium heat and cook, whisking constantly, until the mixture starts to thicken (about 5–7 minutes).
- Temper the Eggs:
- In a small bowl, beat the 3 egg yolks.
- Slowly add a few spoonfuls of the hot milk mixture to the yolks, whisking constantly.
- Pour the tempered yolks back into the saucepan, whisking as you go.
- Cook Until Thickened: Continue cooking for another 2–3 minutes until the custard is thick enough to coat the back of a spoon.
- Add Vanilla: Remove from heat and stir in 1 teaspoon vanilla extract.
Step 3: Prepare the Bananas and Wafers

- Slice the Bananas: Cut 3–4 ripe bananas into thin, even slices.
- Layer the Wafers: Place a layer of vanilla wafers at the bottom of your serving dish.
Step 4: Assemble the Banana Pudding
- First Layer:
- Spread a layer of custard over the wafers.
- Add a layer of banana slices on top of the custard.
- Repeat:
- Add another layer of vanilla wafers, followed by custard and bananas.
- Repeat until you’ve used all the ingredients, ending with a layer of custard on top.
- Optional Topping:
- Crush a few vanilla wafers and sprinkle them over the top layer.
- Add a dollop of whipped cream for extra decoration.
Step 5: Chill the Pudding
- Cover and Refrigerate: Cover the dish with plastic wrap or a lid and refrigerate for at least 2–4 hours to allow the flavors to meld and the wafers to soften.
- Make Ahead: Banana pudding can be made a day in advance for even better flavor.
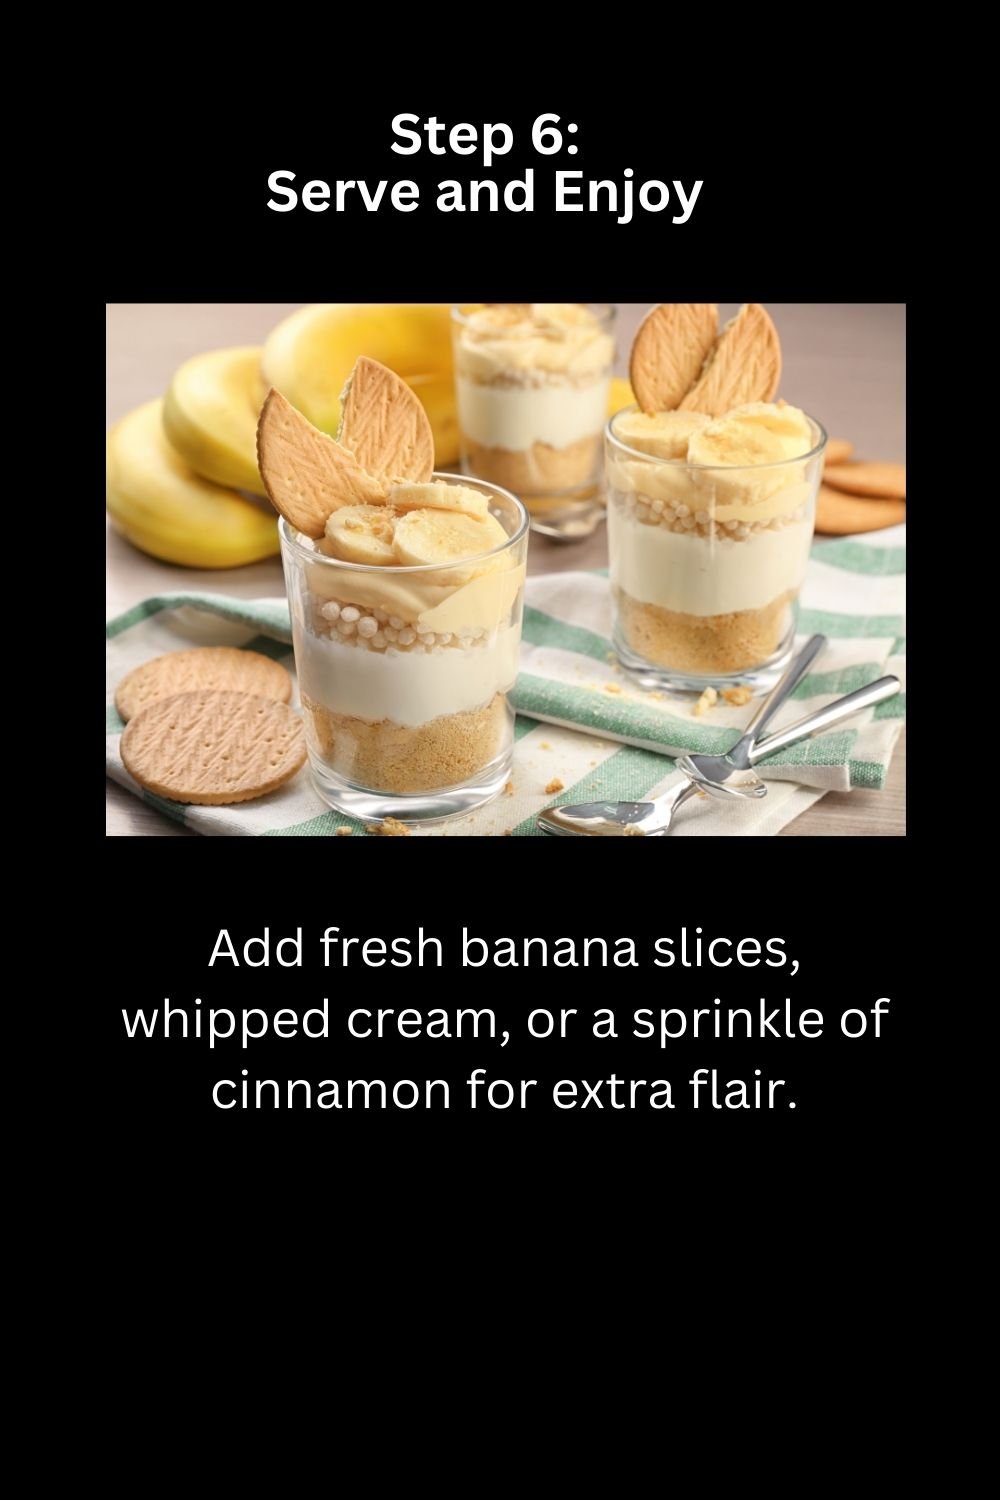
Step 6: Serve and Enjoy
- Scoop and Serve: Use a large spoon to serve from the dish, or serve individual portions if prepared in cups.
- Optional Garnishes:
-
- Add fresh banana slices, whipped cream, or a sprinkle of cinnamon for extra flair.
-
Optional Variations
- Chocolate Banana Pudding:
- Add a layer of melted chocolate or chocolate chips for a rich twist.
- Peanut Butter Banana Pudding:
- Stir 2–3 tablespoons of peanut butter into the custard for a nutty flavor.
- Lighter Option:
- Use low-fat milk and reduced-fat wafers for a healthier version.
Tips for Perfect Banana Pudding
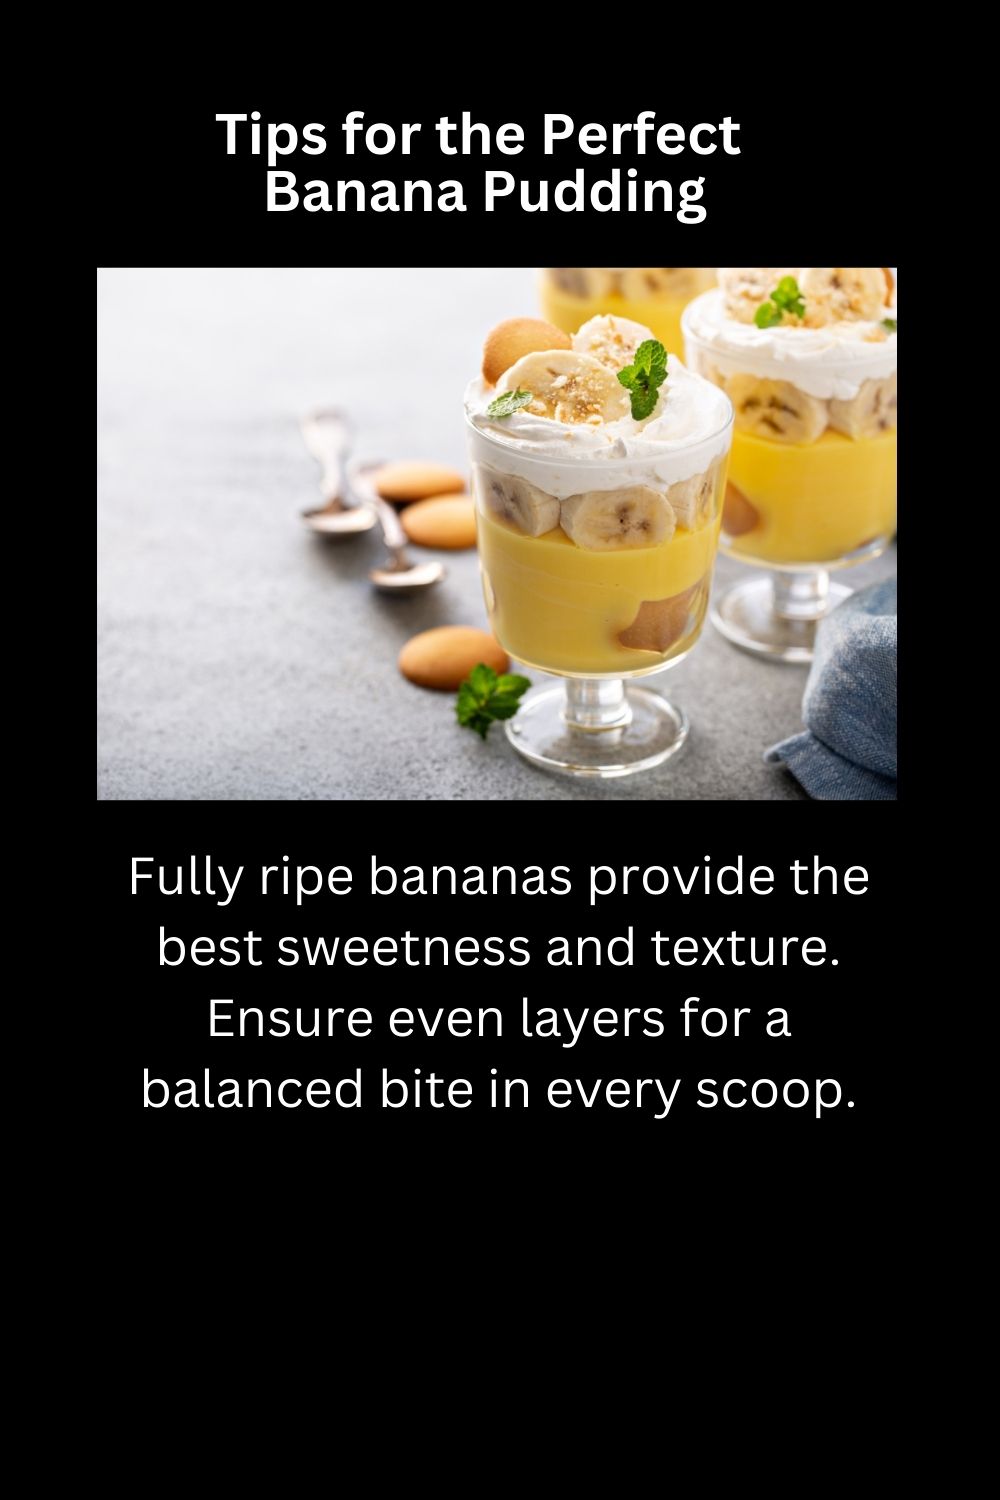
- Use Ripe Bananas: Fully ripe bananas provide the best sweetness and texture.
- Don’t Overheat Custard: Keep the heat medium to low to avoid scrambling the eggs.
- Layer Evenly: Ensure even layers for a balanced bite in every scoop.
Storing Banana Pudding
- Refrigerate: Store in an airtight container in the refrigerator for up to 3 days.
- Avoid Freezing: Freezing can alter the texture of the custard and bananas.
Banana pudding is a simple yet indulgent dessert that’s sure to please everyone. Whether you’re making it for a family gathering or a weeknight treat, this creamy, fruity dish will always be a hit. Enjoy!