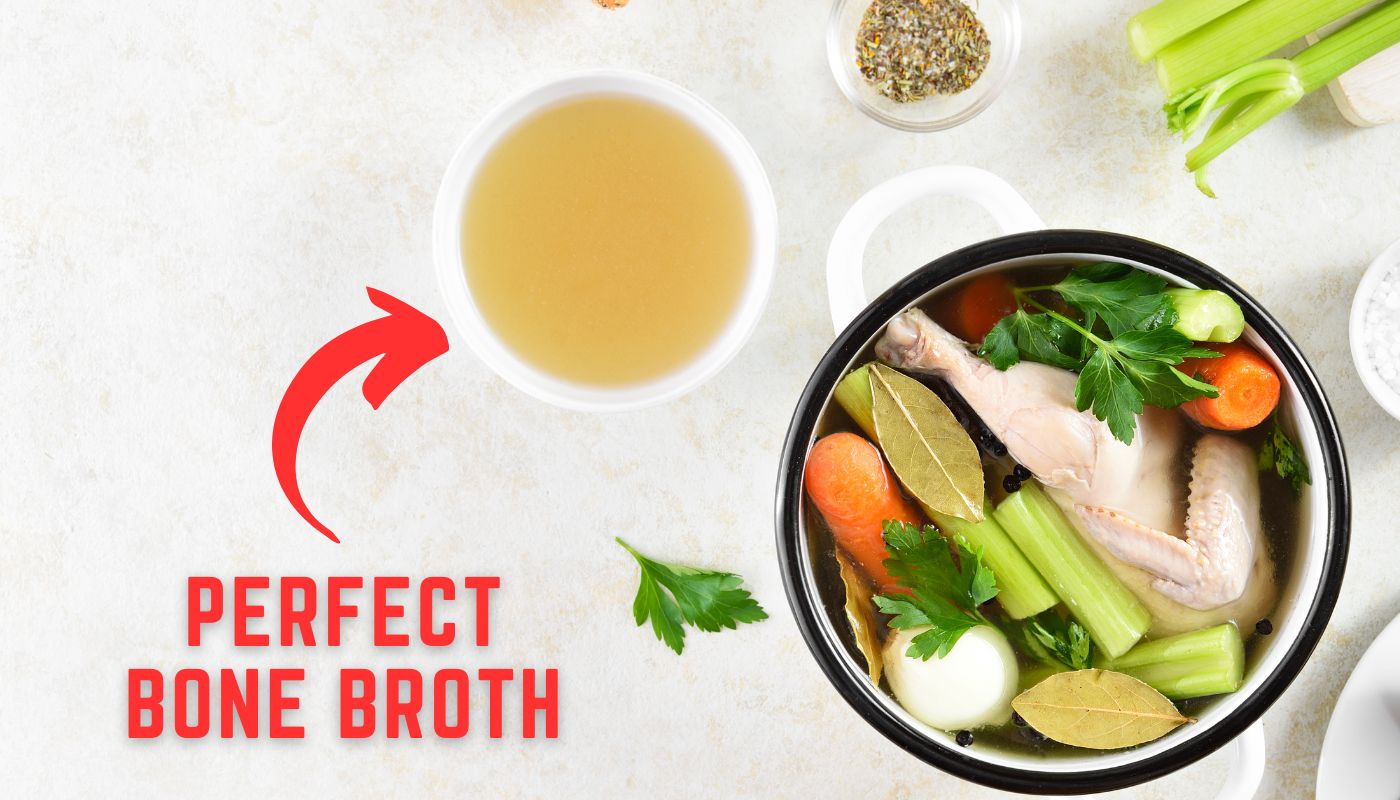
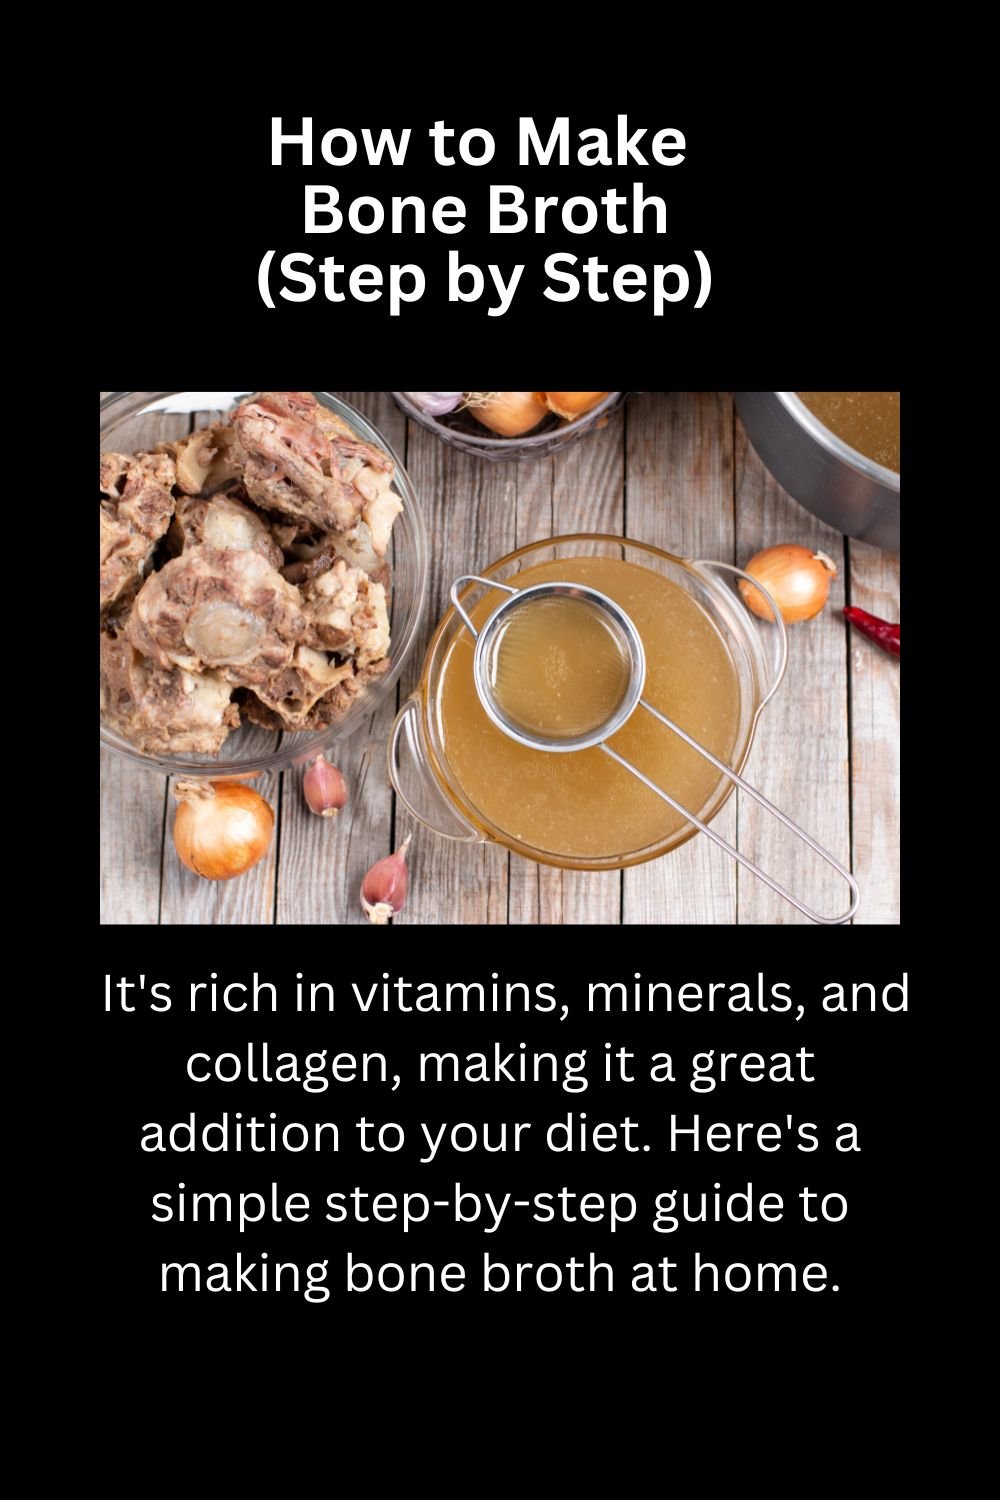
Bone broth is a nutritious and delicious liquid made by simmering bones and connective tissues of animals. It’s rich in vitamins, minerals, and collagen, making it a great addition to your diet. Here’s a simple step-by-step guide to making bone broth at home.
Step 1: Gather Your Ingredients
Ingredients Needed:
- 2-3 pounds of bones (beef, chicken, or fish)
- 2 tablespoons of apple cider vinegar
- 1 large onion, quartered
- 2 carrots, chopped
- 2 celery stalks, chopped
- 2-3 garlic cloves, smashed
- 1-2 bay leaves
- Fresh herbs (thyme, parsley, rosemary)
- Salt and pepper to taste
- 10-12 cups of water
Notes:
- You can use bones from a roasted chicken, beef shanks, or even fish bones.
- Apple cider vinegar helps extract minerals from the bones.
Step 2: Prepare the Bones
Instructions:
- Roast the Bones (Optional but recommended for beef and pork bones):
- Preheat your oven to 400°F (200°C).
- Spread the bones out on a baking sheet.
- Roast for 30-45 minutes, turning them halfway through, until they are browned.
Benefits of Roasting:
- Enhances the flavor of the broth.
- Adds a rich, deep color.
Step 3: Assemble Ingredients in a Large Pot

Instructions:
- Place the roasted bones (or raw if using chicken or fish) in a large stockpot.
- Add the chopped vegetables, garlic, and bay leaves.
- Pour in the apple cider vinegar.
- Fill the pot with water until the bones are completely covered, leaving about an inch of space at the top.
Tips:
- Use a slow cooker or an Instant Pot for convenience.
Step 4: Simmer the Broth
Instructions:
- Bring the pot to a boil over medium-high heat.
- Once boiling, reduce the heat to low to maintain a gentle simmer.
- Skim off any foam or impurities that rise to the surface during the first hour.
Simmering Times:
- Beef/Pork Bones: Simmer for 12-24 hours.
- Chicken Bones: Simmer for 6-12 hours.
- Fish Bones: Simmer for 4-6 hours.
Tips:
- The longer the simmer, the more nutrients and flavor are extracted.
Step 5: Strain the Broth
Instructions:
- After simmering, remove the pot from the heat.
- Using a slotted spoon, remove the large bones and vegetables.
- Pour the broth through a fine mesh strainer into another pot or large bowl.
- Discard the solids.
Tips:
- For a clearer broth, strain it through a cheesecloth-lined strainer.
Step 6: Cool and Store the Broth
Instructions:
- Allow the broth to cool to room temperature.
- Transfer the broth into airtight containers.
Storage Options:
- Refrigerator: Store for up to 5 days.
- Freezer: Store for up to 6 months.
Tips:
- Leave some space at the top of containers when freezing to allow for expansion.
- Freeze in ice cube trays for easy portioning.
Step 7: Use Your Bone Broth

Suggestions for Use:
- Soup Base: Use as a base for soups and stews.
- Cooking Liquid: Replace water or stock in recipes for added flavor.
- Beverage: Heat and drink a cup as a nutritious beverage.
- Gravy and Sauces: Use in place of water or other liquids to make gravy or sauces.
Tips:
- Season your broth with salt and pepper as needed before using it in recipes.
- Add herbs and spices to enhance the flavor according to your preference.
Additional Tips for Making the Best Bone Broth
Tips:
- Quality Ingredients: Use high-quality bones from grass-fed, organic animals for the best nutritional value.
- Variety: Combine different types of bones for a more complex flavor.
- Vegetables: Add different vegetables for variety, such as leeks, mushrooms, or parsnips.
- Herbs and Spices: Experiment with herbs like bay leaves, thyme, and parsley, and spices like peppercorns or ginger.
Notes:
- Bone broth can develop a gelatinous texture when refrigerated, which is a sign of a good broth rich in collagen.
- Adjust the amount of water depending on how concentrated you want your broth to be.
Additional Tips and Common Mistakes in Making Bone Broth

Making bone broth is a straightforward process, but there are a few tips and common mistakes to keep in mind to ensure you get the best results. This section provides further guidance and helps troubleshoot potential issues.
Additional Tips for Perfect Bone Broth
Tip 1: Use a Mix of Bones
Using a combination of marrow bones, knuckle bones, and meaty bones will give your broth a richer flavor and higher nutrient content. Each type of bone adds different nutrients and textures.
Tip 2: Add Acidic Ingredients
Apple cider vinegar is commonly used, but you can also use lemon juice or another type of vinegar. The acid helps to extract more minerals from the bones, enhancing the nutritional value of your broth.
Tip 3: Skim the Foam
During the initial stages of simmering, a foam will rise to the surface. Skimming this off helps to keep your broth clear and improves the taste.
Tip 4: Keep the Heat Low
A low and slow simmer is crucial. Boiling the broth too hard can break down the proteins too quickly, resulting in a cloudy broth and less gelatin.
Tip 5: Don’t Overcrowd the Pot
Ensure that there is enough space for the water to circulate around the bones. Overcrowding can prevent proper extraction of nutrients and result in a less flavorful broth.
Tip 6: Use Fresh Herbs
Adding fresh herbs like parsley, thyme, and bay leaves can enhance the flavor of your broth. Add these during the last hour of cooking to retain their fresh, vibrant taste.
Tip 7: Seasoning Sparingly
It’s better to under-season your broth during the cooking process. You can always add more salt and pepper when you’re using the broth in a recipe.
Common Mistakes to Avoid

Mistake 1: Using Too Much Water
Adding too much water can dilute the broth, making it less flavorful. Ensure the water just covers the bones and vegetables by about an inch.
Mistake 2: Not Roasting the Bones
While optional, roasting beef and pork bones before simmering enhances the flavor significantly. Skipping this step can result in a broth that is less rich and savory.
Mistake 3: Boiling the Broth
Boiling instead of simmering can cause the broth to become cloudy and reduce its gelatinous quality. Always keep the heat low and maintain a gentle simmer.
Mistake 4: Using Poor Quality Bones
The quality of the bones directly affects the quality of your broth. Using bones from grass-fed, organic animals ensures a higher nutrient content and better taste.
Mistake 5: Not Skimming the Foam
Failing to skim off the foam that forms during the initial simmering can result in a broth with impurities and an off-taste. Regularly skim the surface during the first hour of cooking.
Mistake 6: Discarding the Fat
After cooling, a layer of fat will form on the surface. While some prefer to remove it, this fat can add flavor and nutrients to your broth. Consider leaving some or all of it in, depending on your preference.
Mistake 7: Overlooking Cooking Time
Each type of bone requires a different simmering time to fully extract the nutrients. Ensure you follow the recommended times:
- Beef/Pork Bones: 12-24 hours
- Chicken Bones: 6-12 hours
- Fish Bones: 4-6 hours
Mistake 8: Not Cooling Properly
Improper cooling can lead to spoilage. Allow the broth to cool at room temperature for a short time, then refrigerate. Do not leave it out for extended periods.
Mistake 9: Not Labeling Storage Containers
If you’re freezing your broth, make sure to label your containers with the date. This helps you keep track of freshness and ensures you use the oldest broth first.
Mistake 10: Forgetting to Use the Broth
Bone broth can be stored in the freezer for up to six months. However, it’s best to use it within a few months to ensure optimal flavor and nutrient content. Regularly incorporate it into your meals to avoid waste.
Final Thoughts
Making bone broth at home is a simple yet rewarding process that can greatly enhance your culinary repertoire and provide numerous health benefits. By following these additional tips and avoiding common mistakes, you’ll be able to create a rich, flavorful, and nutrient-dense broth every time. Enjoy your homemade bone broth in soups, stews, or as a nutritious drink, and relish in the satisfaction of creating a kitchen staple from scratch.