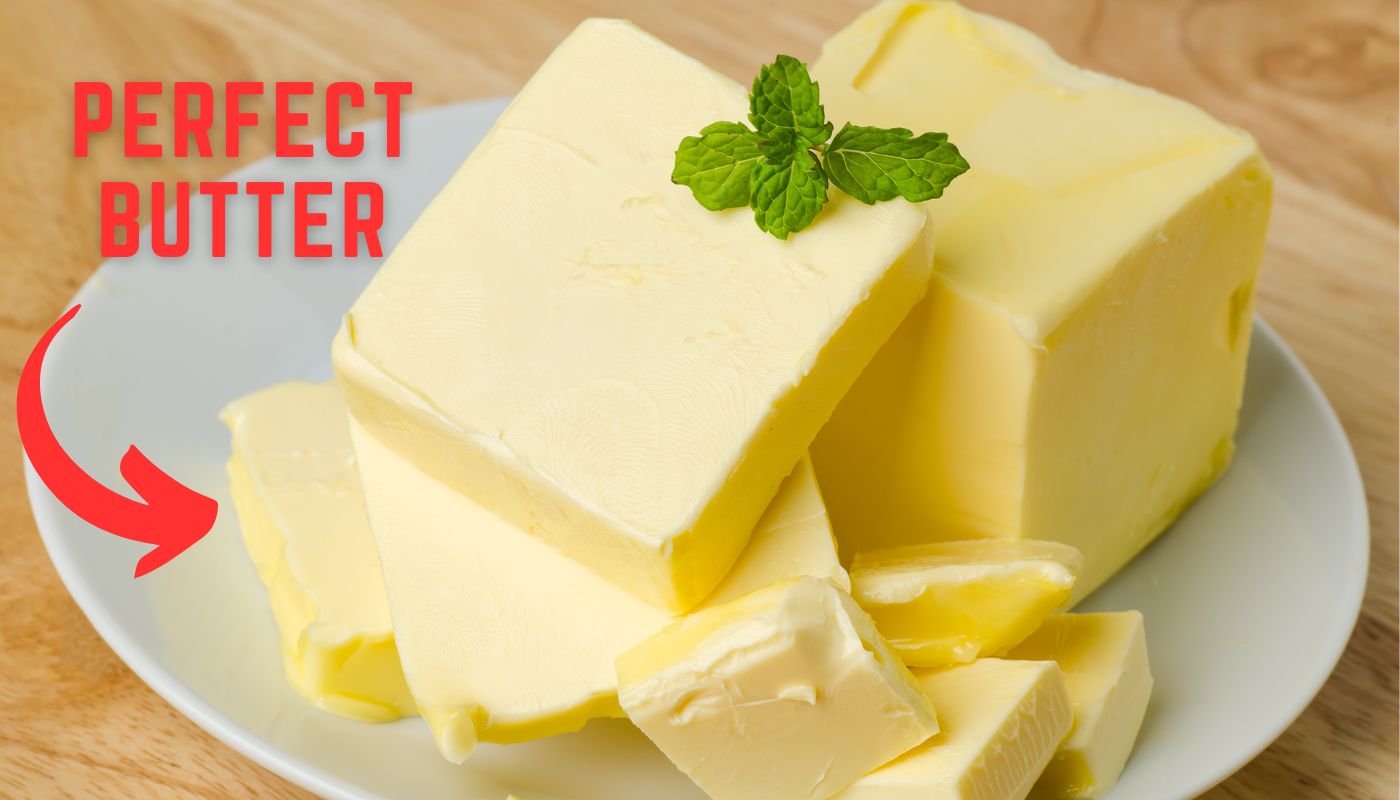
Making butter at home is a fun and rewarding process that allows you to enjoy fresh, creamy, and delicious butter. Follow these easy steps to create homemade butter that’s perfect for cooking, baking, or spreading on your favorite bread.
Step 1: Gather Your Ingredients

To make butter, you only need two basic ingredients:
- Heavy Cream: Look for high-quality, full-fat heavy cream for the best results. Avoid ultra-pasteurized cream, as it may not whip as easily.
- Salt (Optional): If you prefer salted butter, you can add a pinch of salt.
Step 2: Prepare Your Equipment
You’ll need some basic tools to make butter:
- Mixing Bowl: Large enough to contain the cream without spilling.
- Electric Mixer or Whisk: Speeds up the process significantly. You can also use a hand mixer or food processor.
- Cheesecloth or Fine Mesh Strainer: For separating the butter from the buttermilk.
- Cold Water: To rinse the butter and remove excess buttermilk.
Step 3: Whip the Cream

Pour the heavy cream into the mixing bowl and begin whipping it.
- Using an Electric Mixer: Start on medium speed, gradually increasing to high. The cream will first turn into whipped cream, then start to break down into butter and buttermilk.
- Manual Whisking: Whipping cream by hand is possible but requires more time and effort. Use quick, consistent movements for best results.
Step 4: Separate Butter from Buttermilk

Once the cream separates, you’ll notice clumps of yellow butter forming and liquid buttermilk pooling at the bottom.
- Strain the Mixture: Pour the contents of the bowl through a cheesecloth or fine mesh strainer to separate the butter from the buttermilk.
- Save the Buttermilk: Don’t throw it away! It can be used in pancakes, biscuits, or other recipes.
Step 5: Rinse the Butter
To remove any remaining buttermilk (which can cause the butter to spoil faster), rinse the butter with cold water.
- Knead Under Water: Place the butter in a bowl of cold water and knead it gently. Repeat with fresh water until the water runs clear.
- Pat Dry: Use a clean towel or paper towel to pat the butter dry.
Step 6: Add Salt (Optional)
If you prefer salted butter, sprinkle in a pinch of salt and mix it into the butter.
- Adjust to Taste: Start with a small amount and add more as needed.
- Flavored Butter: You can also mix in herbs, garlic, honey, or other ingredients for a unique twist.
Step 7: Shape and Store the Butter

Once your butter is ready, shape it and store it properly.
- Shape Options: Roll it into a log, press it into a mold, or simply leave it in a dish.
- Storage Tips:
- Use an airtight container for short-term storage in the refrigerator (up to 2 weeks).
- For long-term storage, wrap the butter tightly in parchment paper or plastic wrap and freeze it.
Step 8: Use Your Homemade Butter

Your fresh butter is now ready to use! Enjoy its rich, creamy taste in a variety of ways.
- Cooking: Perfect for sautéing, frying, or making sauces.
- Baking: Adds a fresh, creamy flavor to cakes, cookies, and pastries.
- Spreading: Delicious on bread, toast, or muffins.
Troubleshooting Common Butter-Making Problems

If you encounter issues while making butter, here are some quick fixes:
Problem: Cream Won’t Whip
- Solution: Ensure the cream is cold and has a high fat content (at least 35%). Avoid ultra-pasteurized cream.
Problem: Butter Won’t Separate
- Solution: Continue whipping. If it’s taking too long, try chilling the mixture and whipping again.
Problem: Butter is Too Soft
- Solution: Place it in the refrigerator for 15–20 minutes to firm up.
Problem: Butter Tastes Bland
- Solution: Add a pinch of salt or mix in your favorite flavorings.
Tips for Enhancing Your Butter
Add Flavor
For a gourmet touch, try mixing in:
- Sweet Options: Honey, cinnamon, or vanilla.
- Savory Options: Garlic, fresh herbs, or parmesan.
Customize the Texture
- Soft Butter: Blend in a little vegetable oil or olive oil for spreadable butter.
- Firm Butter: Chill longer or use less cream.
Experiment with Cream Types
- Fresh Cream: Provides a lighter, milder flavor.
- Cultured Cream: Offers a tangier, richer taste similar to European butter.
Benefits of Making Butter at Home

Making your own butter has many advantages:
- Freshness: Homemade butter is fresher than store-bought.
- Customization: Tailor the flavor, texture, and salt content to your preference.
- Cost-Effective: Making butter can be more affordable, especially for high-quality butter.
- Sustainability: Reduce packaging waste by creating butter at home.
Common Uses for Homemade Butter
Homemade butter enhances a variety of dishes:
- Baking: Use it in cookies, cakes, and pie crusts for a richer flavor.
- Cooking: Ideal for frying, sautéing, and making sauces like hollandaise.
- Spreading: Enjoy on toast, bagels, or cornbread for a luxurious breakfast treat.
Final Thoughts
Making butter at home is simple, enjoyable, and rewarding. By following these steps, you can create fresh, flavorful butter tailored to your taste. Experiment with different flavors and textures, and enjoy the rich, creamy taste of homemade butter in all your favorite recipes!