Propagation can be a fun and rewarding hobby for plant lovers. Learning how to successfully propagate Monstera plants can lead to a thriving indoor garden. With a little knowledge and care, anyone can create new plants from their existing ones.
Monstera plants are popular for their unique leaves and easy-going nature. They capture attention and bring life to any space. Using the right tips can help gardeners maximize their success in growing new Monsteras.
1) Choose a Healthy Monstera Cutting
Choosing a healthy Monstera cutting is the first step to successful propagation! A good cutting will help ensure strong growth and a lush plant.
Look for a cutting with at least one healthy leaf and a node. The node is essential because it’s where new roots will grow. A cutting with multiple leaves is even better!
Check the cutting for signs of damage. Leaves should be green and firm, not yellow or brown. Avoid any stems that look mushy or have dark spots.
The size of the cutting matters too. A cutting that is around 6 to 8 inches long is ideal. It should have some space between the node and the leaf for best results.
Time matters when taking the cutting. Early in the morning is often best since the plant is well-hydrated. This increases the chances of success.
Once a cutting is chosen, it’s ready for the next steps of propagation! Getting a healthy Monstera cutting sets the stage for exciting growth ahead!
2) Use Clean, Sharp Tools
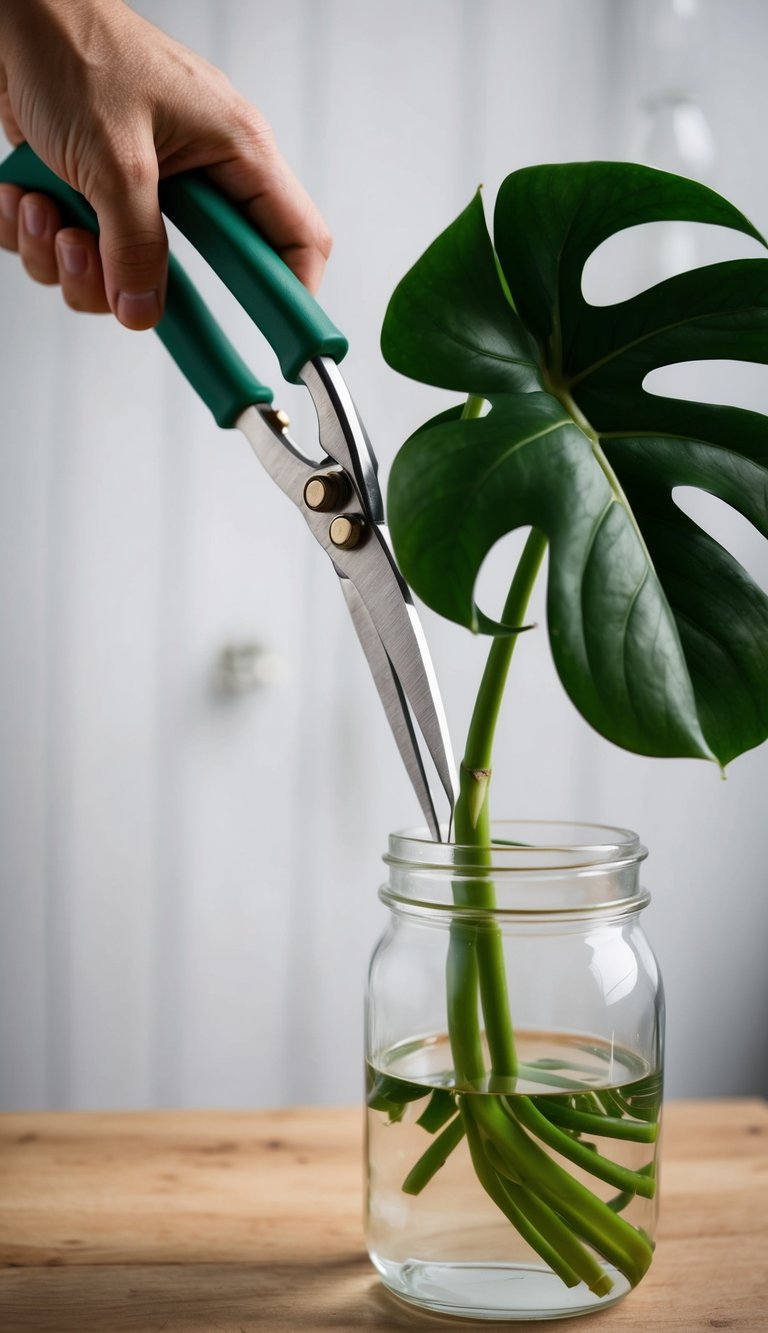
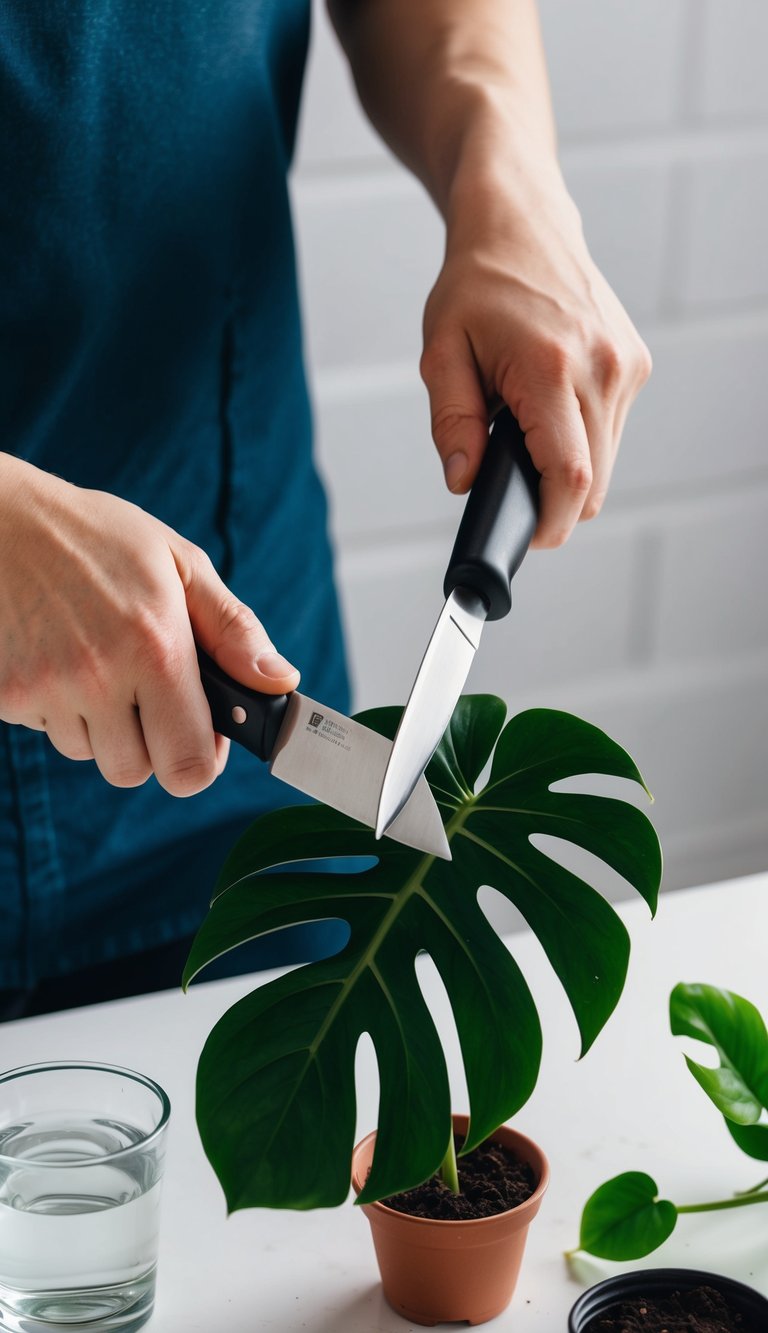
Using clean, sharp tools is key for great Monstera propagation. Clean tools help prevent disease and keep the cuttings healthy.
A sharp knife or scissors makes clean cuts. This reduces damage to the plant and helps it heal faster. A clean cut also allows the plant to take in water more easily.
Before starting, wash the tools with soap and water. Rubbing alcohol is also helpful to disinfect them. This simple step saves time and energy later.
Keeping tools sharp can make a big difference. Dull tools can crush the stems, causing stress to the plant. A sharp tool allows for a quick, precise cut.
Taking a moment to ensure tools are clean and sharp helps create successful plant babies. It is an easy step that makes a positive impact. Happy propagating!
3) Select the Right Time for Cutting
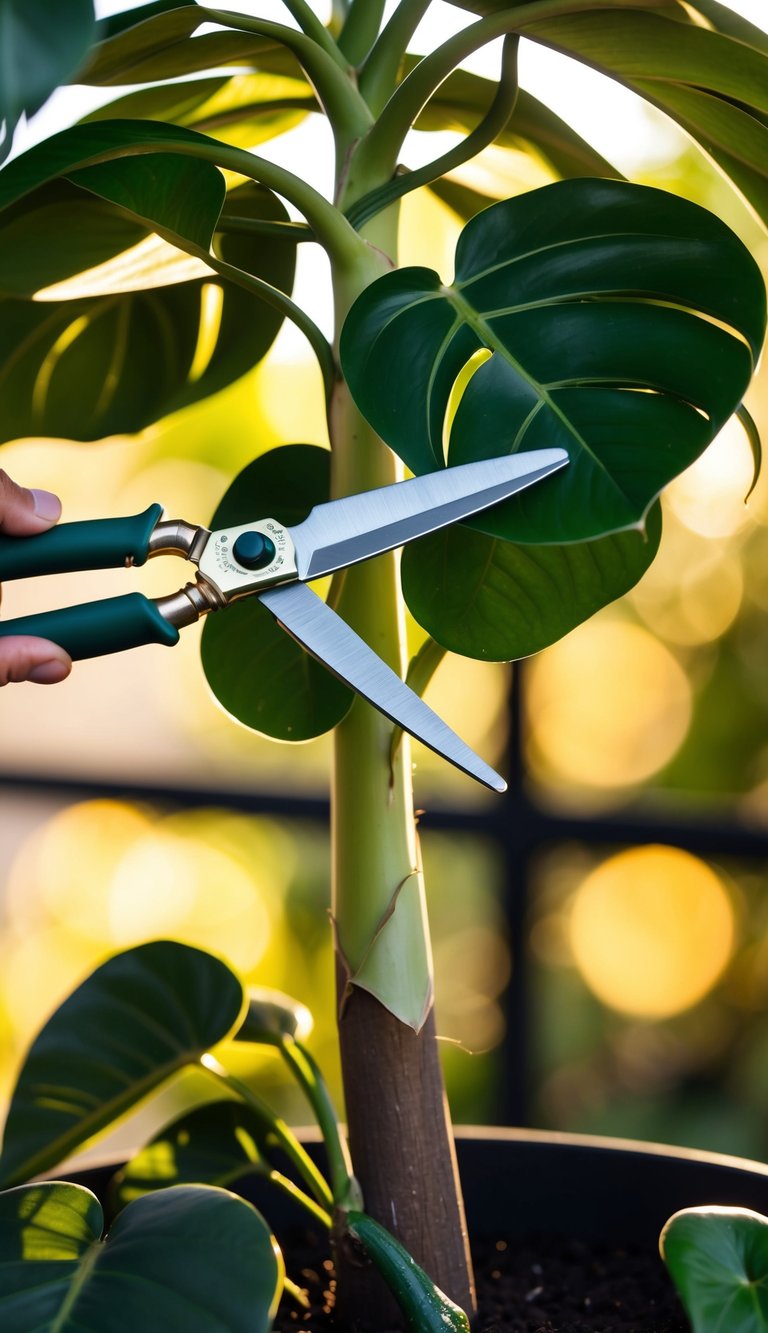
Choosing the right time to cut a Monstera is very important. The best time is during the growing season, which is spring and early summer. During these months, the plant has more energy and can grow roots faster.
Cutting during the winter can be less effective. The plant is usually resting, and growth slows down significantly. It can make it harder for the cutting to establish itself.
Pay attention to the weather too. A warm, humid day is ideal for taking cuttings. This helps the plant stay healthy while it forms new roots.
Look for healthy, mature leaves on the stem before making a cut. A stem with at least one node will give the best chance for new growth. A node is the point where leaves grow and is essential for propagation.
By timing the cut right, the chances of success increase. This means more beautiful Monsteras in the future! Propagation can be a fun adventure when done at the right time.
4) Prepare a Proper Propagation Vessel
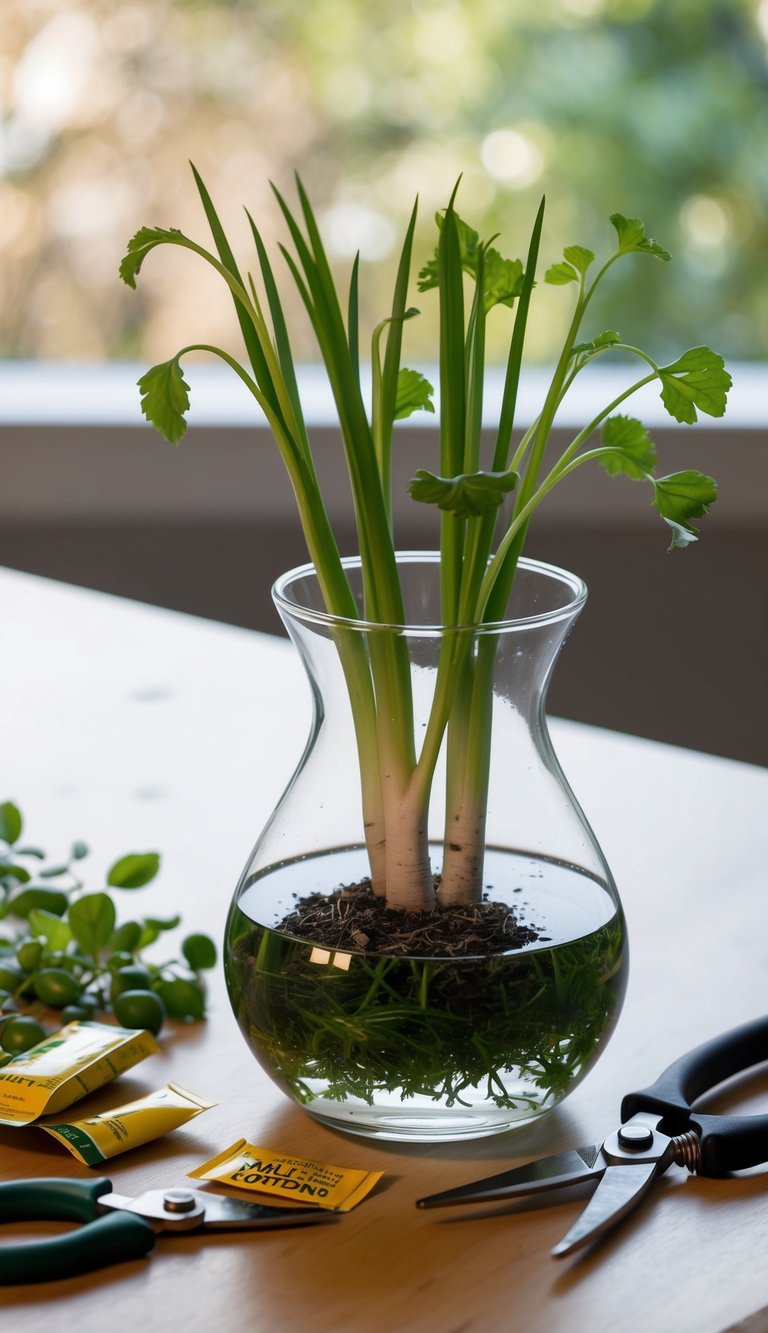
Choosing the right vessel is key for Monstera propagation! It helps create a healthy environment for roots to grow.
Glass jars are popular choices. They let in light and show root growth, which is exciting to see! Clear containers also help monitor water levels.
If using soil, opt for pots with drainage holes. Good drainage prevents water from sitting, which can cause rot.
Plastic or ceramic pots work well too. Just make sure they are not too big. A smaller pot keeps moisture levels balanced and makes care easier.
Always clean the vessel before using it. This reduces the risk of germs harming the plant. He or she can rinse it with hot, soapy water.
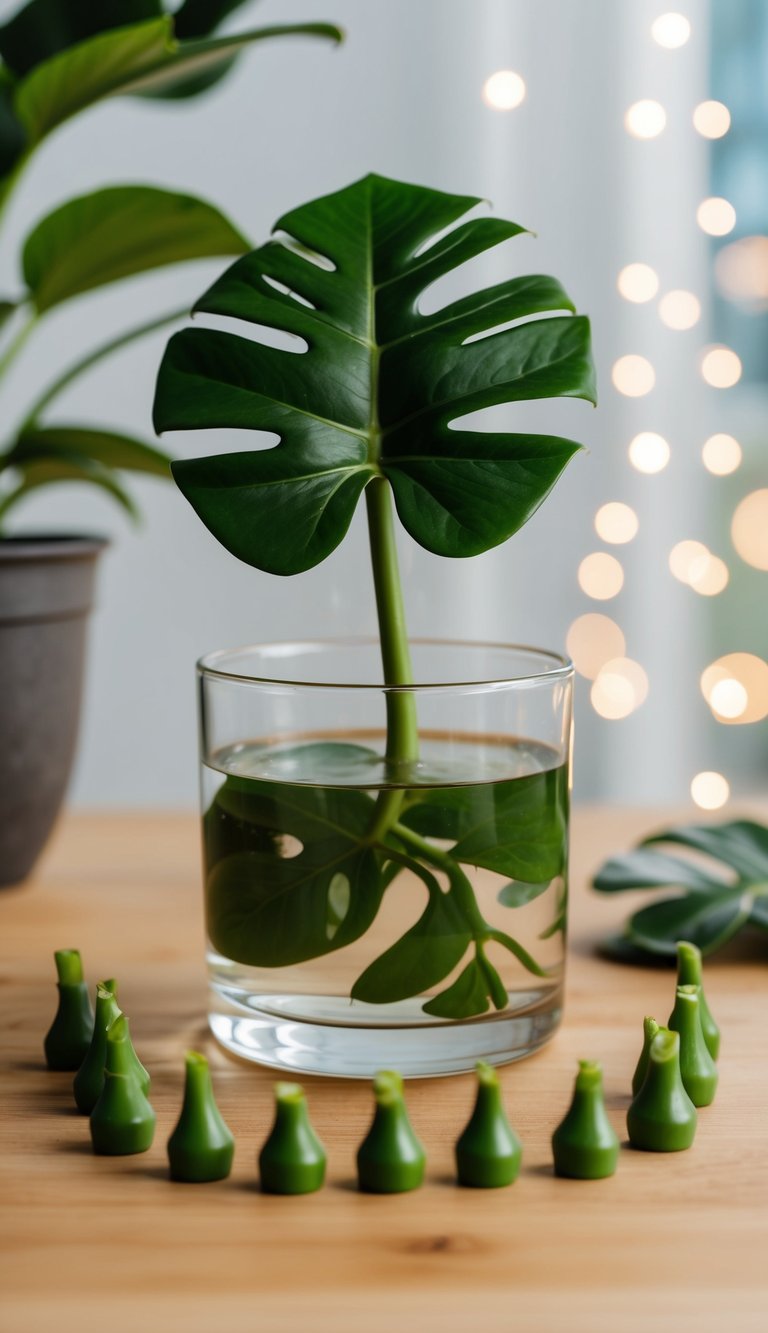
Some people like to use specialized propagation vases. These often have necks that hold cuttings in place, keeping them stable.
No matter the choice, ensure the vessel fits the needs of the plant. A happy Monstera is a thriving Monstera!
5) Use a Rooting Hormone
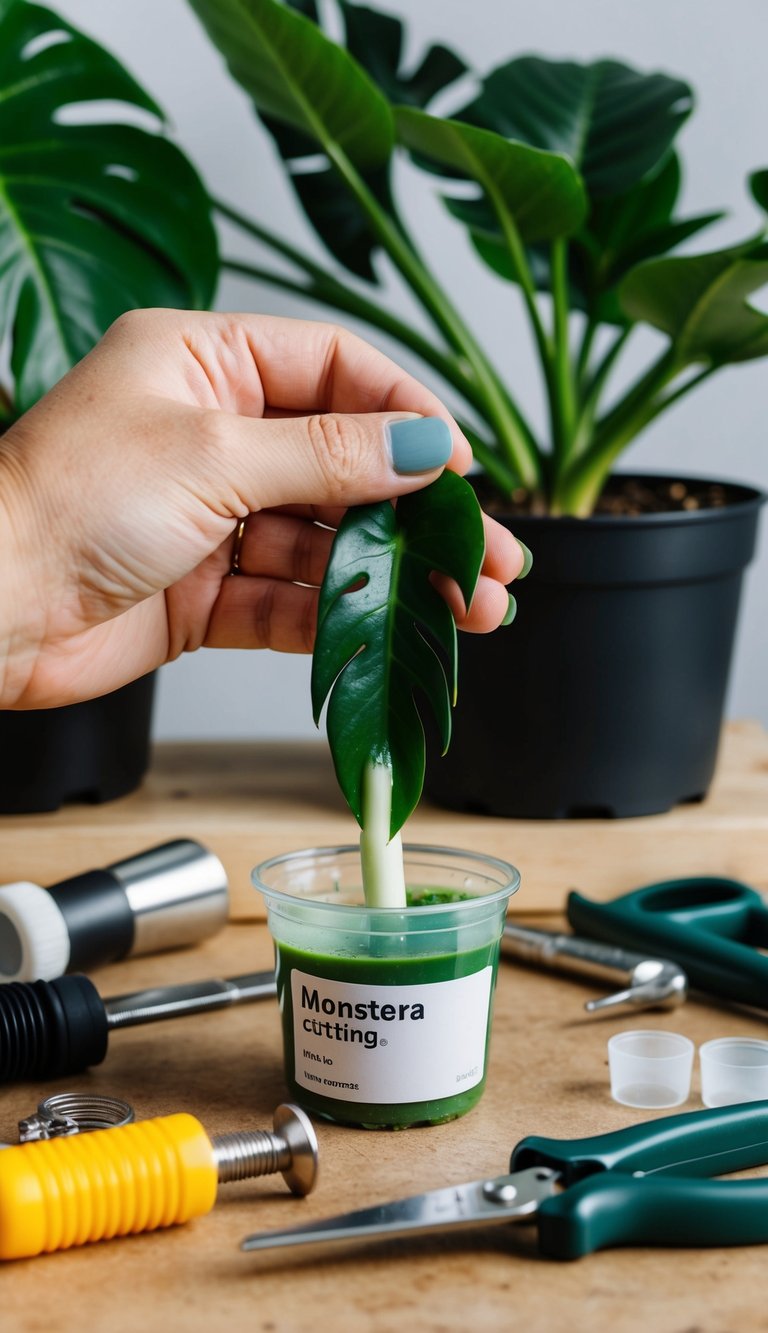
Using a rooting hormone can help cuttings grow strong roots. This product encourages root development. It’s especially useful for Monstera cuttings, which thrive with a little extra support.
Rooting hormones come in powder, gel, or liquid forms. They contain hormones that promote root growth. When cuttings are treated with these products, they often root faster.
To use rooting hormone, first dip the cut end of the cutting into the hormone. Make sure to coat it well. Then, plant the cutting in the soil right away.
Using a rooting hormone can also improve the chances of successful propagation. It gives cuttings a boost, helping them adjust to their new environment. This means healthier plants in the long run!
It’s important to follow the instructions on the product you choose. Each type can have specific guidelines for use. When done correctly, using rooting hormone can lead to beautiful new Monstera plants.
6) Keep the Cutting Hydrated
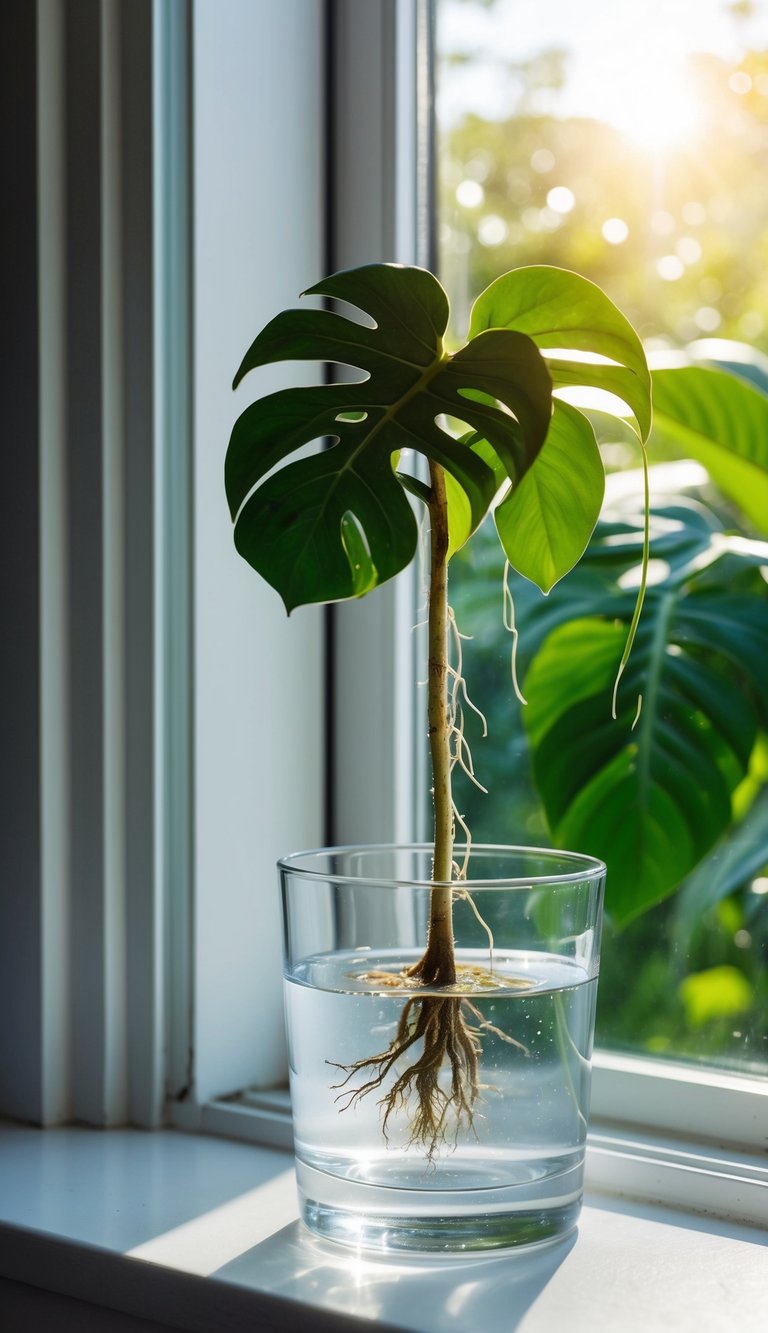
Keeping the cutting hydrated is key to successful propagation. A plant cutting needs moisture to develop roots. Without enough water, it may wilt or die.
It’s important to use fresh water. Change the water every few days to keep it clean. This helps prevent harmful bacteria from growing.
If the cutting is in soil, keep it slightly moist. It shouldn’t be soggy, just damp enough to support growth. Checking the soil often can help maintain the right moisture level.
Humidity also plays a role. A humid environment can help the cutting take root faster. Using a plastic bag or a humidity dome can boost moisture around the cutting.
Observe the cutting closely. If it starts to look droopy, it might need more water. Staying attentive can make a big difference in its health.
Keeping the cutting hydrated sets the stage for strong roots. With the right care, it will grow into a beautiful Monstera plant. This excitement comes from watching the plant thrive!
Provide Indirect Sunlight
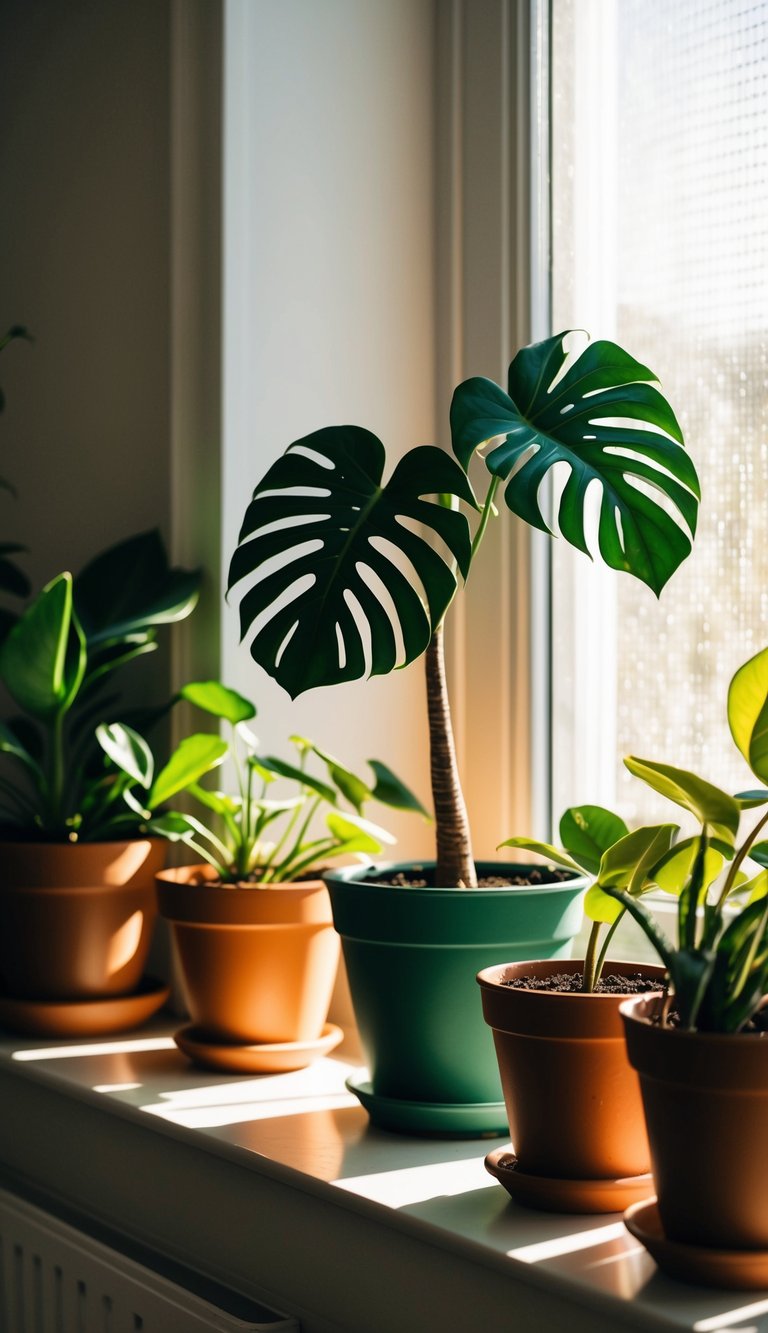
Monstera plants thrive best in indirect sunlight. Direct sunlight can scorch their leaves, causing damage. They prefer bright, filtered light that mimics their natural habitat.
Placing a Monstera near a window with sheer curtains is a great idea. This setup allows plenty of light without the harsh rays hitting directly. It creates a cozy spot for the plant to grow.
If the light is too dim, the plant may stretch for more. This can lead to weak growth and straggly stems. It’s important to find the right balance to keep the plant healthy and strong.
If using artificial lights, opt for grow lights. These can help provide the right spectrum of light. This is especially useful during cloudy days or winter months.
Watch how the plant responds to its light conditions. If the leaves are yellowing or falling off, it might need more light. Conversely, if they are brown around the edges, it may be getting too much.
Finding the right indirect sunlight will help the Monstera flourish. Healthy plants not only look great but are also easier to propagate. The right light is essential for success.
8) Maintain Consistent Humidity
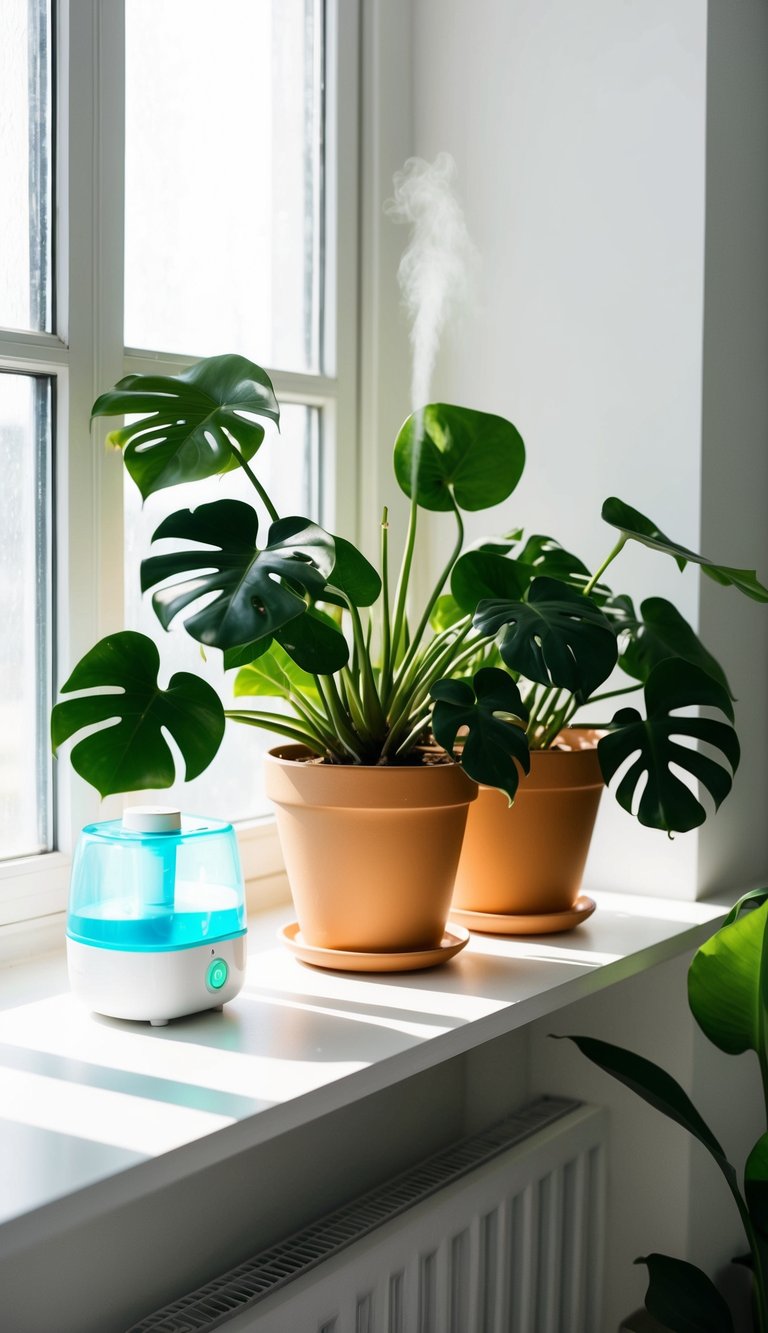
Humidity is key for healthy Monstera growth! These plants love a moist environment. Keeping the humidity levels steady helps them thrive.
She can achieve this by misting the leaves regularly. A spray bottle works wonders. Just a quick mist every few days can make a big difference!
Using a humidifier is another great option. It adds moisture to the air, creating a perfect atmosphere for the plant. This is especially useful in dry climates or during winter months.
Placing a tray of water near the plant can also help. As the water evaporates, it increases humidity around the Monstera. Adding pebbles to the tray can keep the pot above the water, preventing root rot.
Keeping the plant in a bathroom or kitchen can be beneficial too. These areas usually have higher humidity levels. They can be perfect spots for a Monstera to flourish.
Checking humidity levels with a hygrometer is a smart idea. This tool shows how moist the air is. She can adjust her methods based on these readings.
Maintaining humidity is fun and easy! It can lead to vibrant, happy plants. With a little attention, the Monstera will grow beautifully.
9) Monitor for Root Growth Regularly
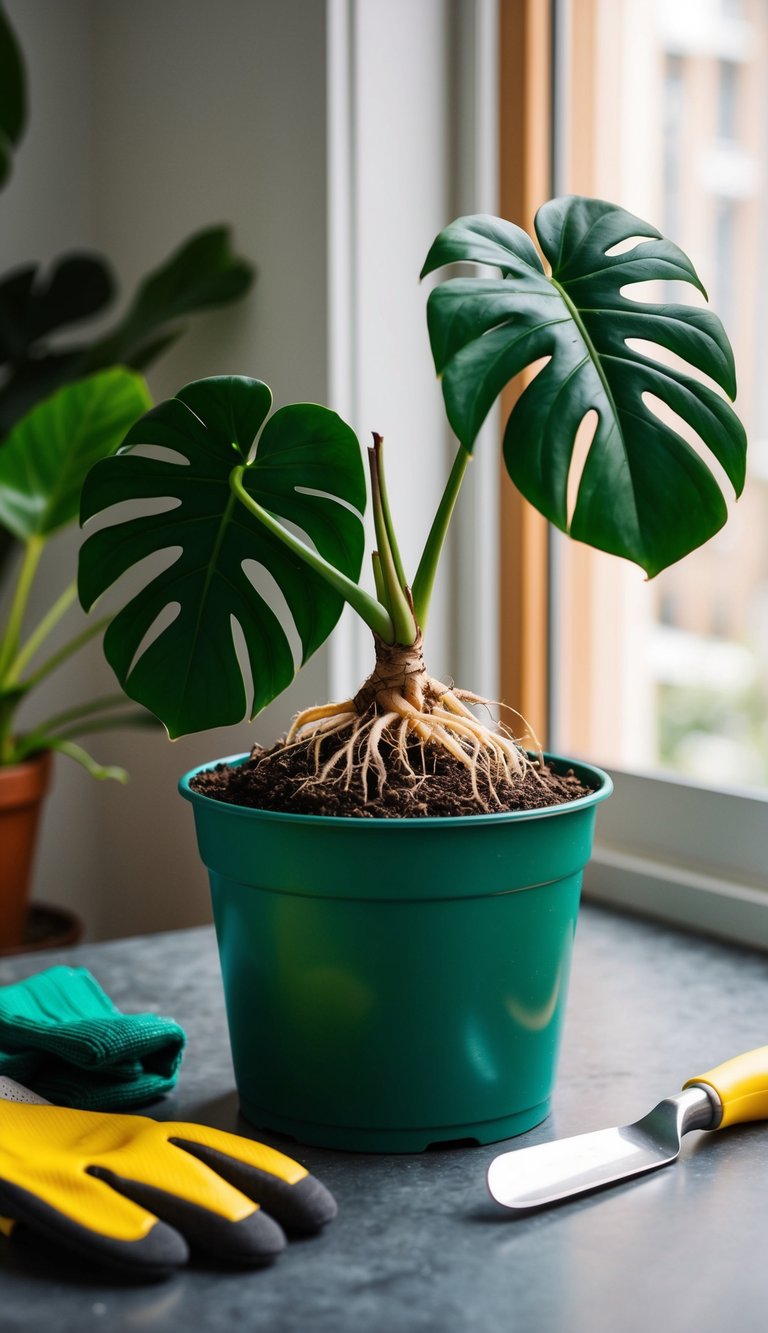
Monitoring root growth is a key part of propagating a Monstera. It can be exciting to see signs of development.
After a few weeks, she should check the cutting. Clear water or a transparent container lets her see right away if roots are forming.
Roots can appear fuzzy at first. They may start small but will grow quickly if conditions are right.
Regular checks help ensure the plant is healthy. If she notices any issues, adjustments can be made early.
Proper light, warmth, and water levels all play a big role. Keeping the cutting in a stable environment is essential.
If the roots are long enough, it is time to pot the cutting. New roots signal that the Monstera is ready for its next step.
By keeping an eye on root growth, she can have a successful propagation experience. It’s like watching a plant grow right before her eyes!
10) Transplant to Soil Carefully

Transplanting a Monstera to soil is an exciting step in plant care. It can help the plant grow strong and healthy in its new home.
Before starting, she should gather all the needed materials. Use a pot with drainage holes to help avoid water buildup. Quality potting mix is also important.
Gently remove the Monstera from its current container. She needs to be careful with the roots. If the roots are tight, it may help to massage them gently.
Next, add some potting mix to the bottom of the new pot. Place the Monstera in the center. Then, fill in around the roots with more soil, making sure not to bury the stem.
It’s important to leave some space at the top for watering. Lightly press down the soil to remove air pockets, but don’t pack it too tightly.
After transplanting, water the plant thoroughly. This helps settle the soil around the roots. It also gives the plant a good start in its new pot.
Lastly, put the Monstera in a spot with bright, indirect light. She should monitor the plant for a few weeks. This helps ensure it adjusts well to its new environment.
11) Fertilize Lightly After Planting
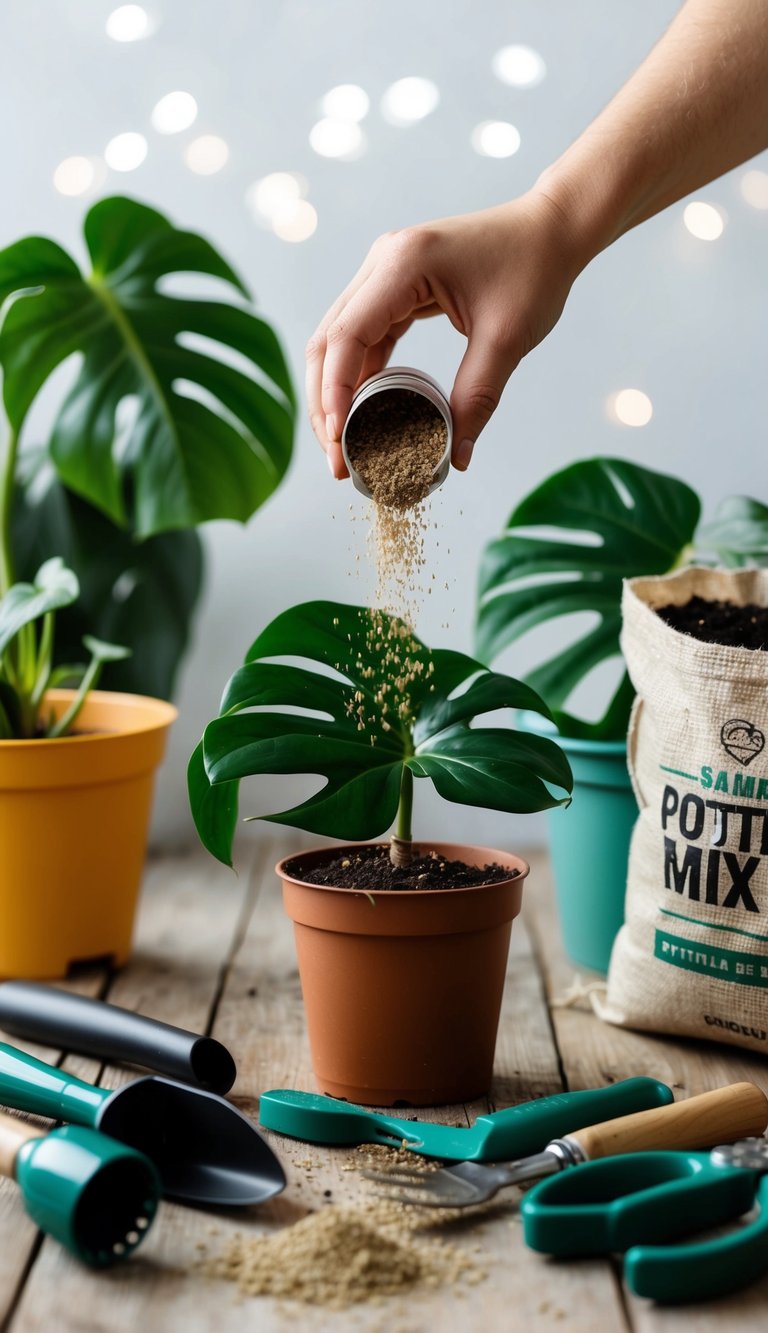
After planting a Monstera cutting, it’s time to think about fertilizer. Light fertilization helps the new roots grow strong and healthy.
It’s best to wait a few weeks before adding fertilizer. This gives the cutting time to adjust to its new home. Once roots are established, a light dose of liquid fertilizer works wonders.
Using half the recommended strength is a good idea. This way, the plant gets nutrients without getting overwhelmed.
Choosing a balanced fertilizer is important. A ratio like 20-20-20 can support growth. Mixing it into water makes it easier for the plant to absorb nutrients.
Fertilizing every month or so is a simple plan. This keeps the Monstera thriving without the risk of burning the roots.
Keeping an eye on the plant’s growth can guide the timing. If the leaves turn yellow, it might need more nutrients.
Remember, less is more when it comes to new plants. With a little patience and the right care, the Monstera will flourish!
Understanding Monstera Propagation
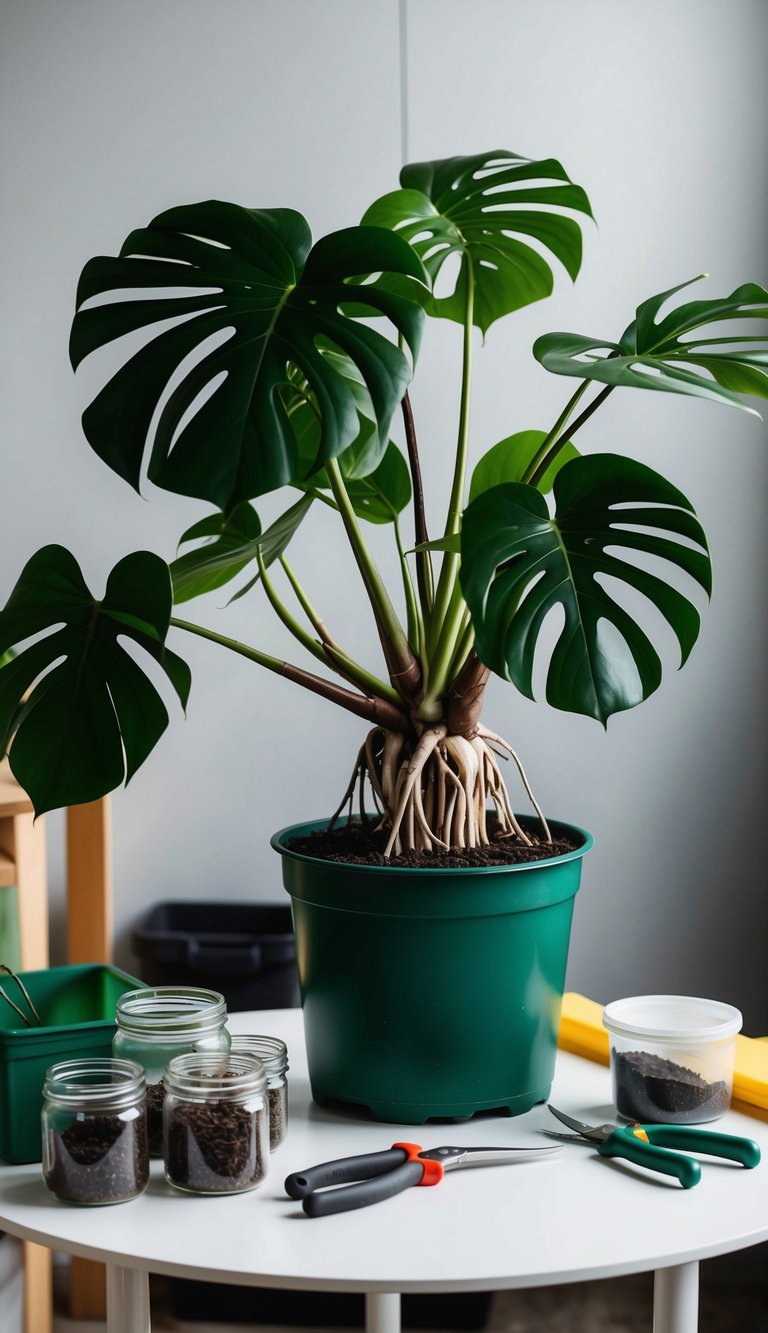
Monstera propagation is a fun and rewarding process. It allows plant lovers to grow new plants from existing ones. This section covers what monstera propagation is and why it’s a great idea for plant enthusiasts.
What Is Monstera Propagation?
Monstera propagation means creating new monstera plants from cuttings of a mature plant. It is a method that allows a gardener to expand their collection. The most common way to propagate monsteras is through stem cuttings.
To do this, a person cuts a stem that has at least one leaf and a node. The node is the part of the stem where new roots develop. This cutting can be placed in water or soil to root and grow into a new plant. Monitoring the moisture and light is important during this time.
Why Propagate Monstera Plants?
There are many exciting reasons to propagate monstera plants. First, it helps to create new plants to share with friends or family. Sharing plants can strengthen relationships and bring joy to others.
Propagation also helps manage plant size. A large monstera can take up a lot of space. By cutting it back, a person can keep the plant healthy and vibrant.
Another reason is that it can save money. Buying new plants can be expensive. Propagation allows individuals to grow their own plants at little or no cost. This way, they can enjoy different varieties or share them with others.
Common Methods of Propagation
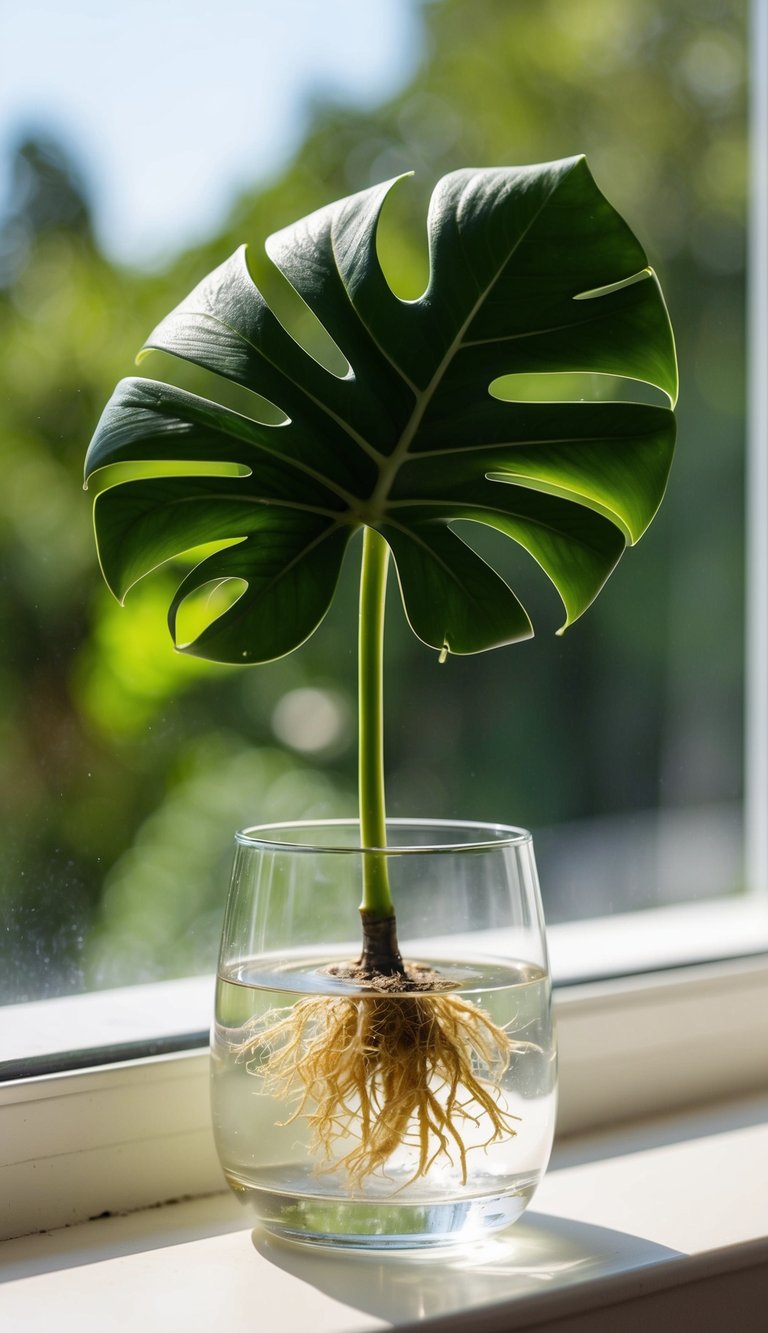
There are several effective ways to propagate Monstera plants. Each method has its own steps and benefits. Below are some popular techniques that can help anyone successfully grow new plants.
Water Propagation
Water propagation is a popular method for Monstera cuttings. To start, select a healthy cutting with at least one node. Place the cutting in a clear jar filled with water, ensuring the node is submerged, but the leaves remain dry.
Change the water every few days to keep it fresh. Roots usually begin to appear in 2-4 weeks. Once the roots are about 2-3 inches long, the cutting is ready to be planted in soil. This method allows for easy monitoring of root development and can be quite rewarding.
Soil Propagation
Soil propagation offers a direct approach for Monstera lovers. Begin by taking a cutting with at least one node and a couple of leaves. Plant the cutting in a well-draining potting mix. A mix of potting soil, peat, and perlite works best.
Water the soil lightly, keeping it moist but not soggy. The cutting should be in a warm area with indirect sunlight. Roots may take longer to develop in soil, typically 4-8 weeks. To check for root growth, give a gentle tug on the cutting. If there’s resistance, roots are forming!
Air Layering
Air layering is an advanced technique that can produce successful results. To begin, select a healthy branch and create a small cut about one-third through the stem. Insert a toothpick or small piece of plastic to keep the cut open.
Next, wrap the area with moist sphagnum moss, securing it with plastic wrap. Keep the moss damp and in a humid environment. After a few months, roots should form around the cut. Once roots are visible, the stem can be cut below the new roots and planted in soil. This method encourages strong roots and a healthy start.
Preparing for Propagation
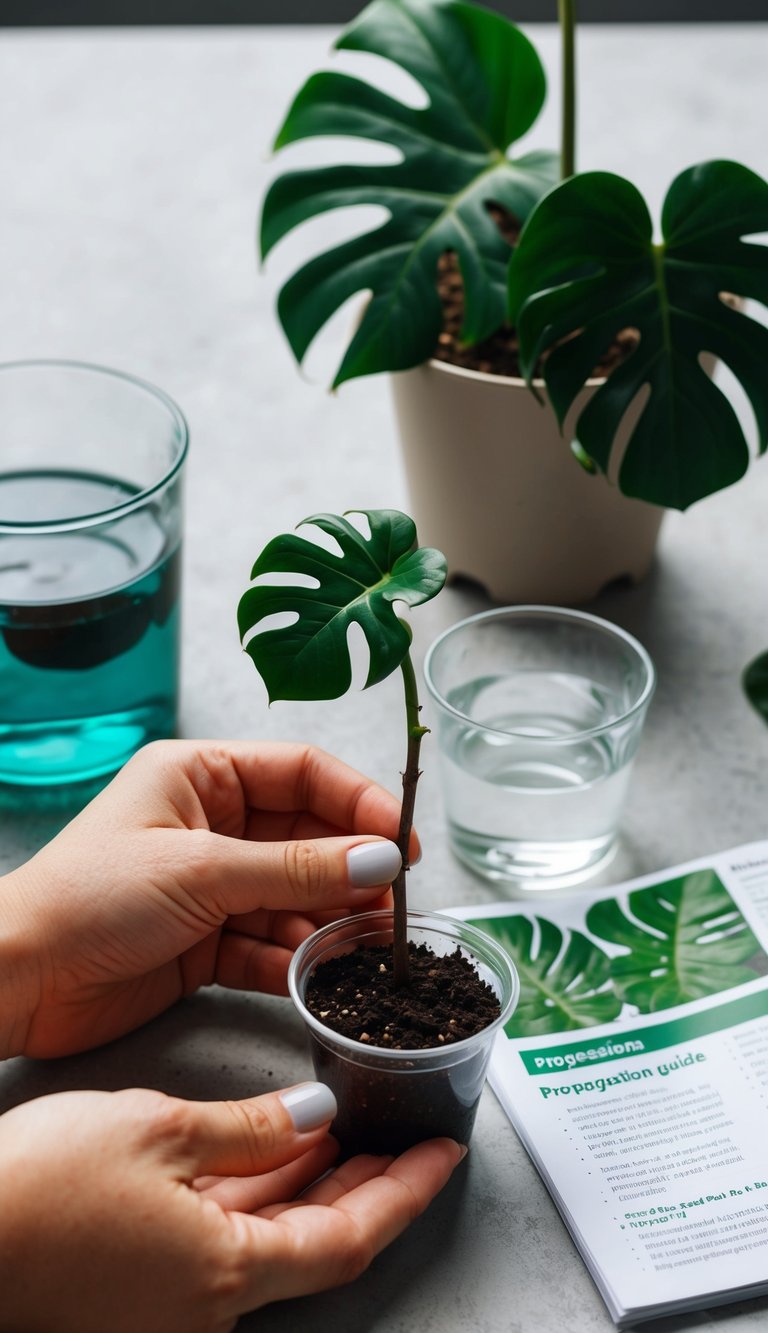
Before starting monstera propagation, it’s important to be well-prepared. Gathering the right tools and selecting healthy cuttings will increase the chances of success. Here’s how to get ready!
Gathering Tools and Materials
To begin, gather your essential tools:
- Sharp Shears or Scissors: A clean cut helps prevent damage to the plant.
- Container for Cuttings: Use a glass or jar to hold cuttings in water.
- Potting Mix: A light, well-draining soil is ideal for rooting.
- Labels: Keep track of different cuttings if taking several.
Make sure everything is clean to avoid introducing bacteria. Each tool plays a vital role in the success of the propagation process. Having the right materials set up will make the process smoother and more efficient.
Selecting Healthy Cuttings
Choosing the right cuttings is vital. Look for stems that are at least 6 inches long and have at least one leaf. Make sure the cuttings are healthy and green.
Check for signs of disease, such as yellowing leaves or dark spots. These should be avoided to ensure healthy propagation. Ideally, select cuttings that have aerial roots, as these roots can help the new plant grow faster.
Remember to make a slanted cut below a node. This increases successful growth, as nodes are where new roots and leaves will form. Proper selection leads to a better chance of thriving plants.